Wiring Your First DC Layout: Bus Wire, Feeders and First Run
The track is laid. The controller is on the desk. Here's how to connect it all without creating faults that take days to find.

Part 3: Wiring Your First DC Layout Step by Step
Bus wire runs first, feeders second, controller last. Get that order right and the work is straightforward. Get it wrong and you’re underneath the baseboard pulling clips off wire you just installed.
The sequence matters more than anything else in DC wiring. Every step in this article builds on the previous one, and reversing any two of them means undoing finished work.
This article follows on from Part 1, which explains what bus wire is and why it exists, and Part 2, which covers the tools you need. If you haven’t read those, start there. The products referenced in both are used throughout this one.
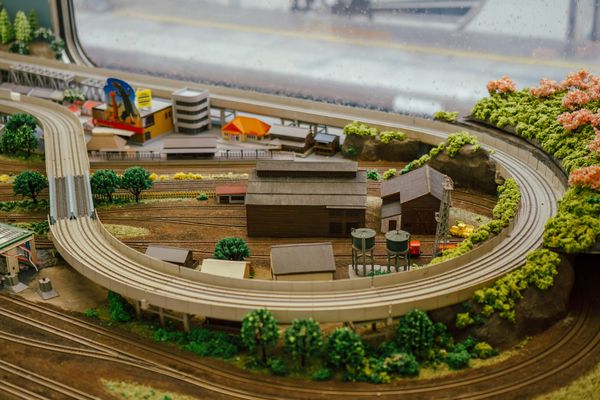
Lay the Track First
Don’t start wiring until the track is completely laid and the layout has been running from a temporary clip-on connection for at least one session.
Running temporary first does two things. It shakes out track problems before any wiring is in place: rails not seated properly, joiners not making contact, points that derail. Finding those on a clean baseboard takes minutes. Finding them after you’ve installed a bus and a dozen feeders does not.
Once the track runs reliably from a temporary feed, the layout is confirmed correct. Then you wire it properly.
Plan Your Power Points Before You Drill Anything
Before anything goes under the baseboard, mark where the feeders will go. Use a pencil directly on the baseboard: one mark per feeder point, one metre to one-and-a-half metres apart along each run of track.
On a 2x1 metre oval, four feeder pairs covers the layout with redundancy. On a 3x2 metre layout, aim for a pair every 100 to 150 centimetres. Mark all of them first.
Also mark where the bus runs. On most layouts this is a straight line down the length of the baseboard, roughly centred under the track. The bus needs to stay clear of any cross-bracing and close enough to the feeder points that the drops don’t have to reach far.
Do all the planning before the first hole gets drilled. Changes on paper take thirty seconds. Changes on a finished baseboard take a lot longer.
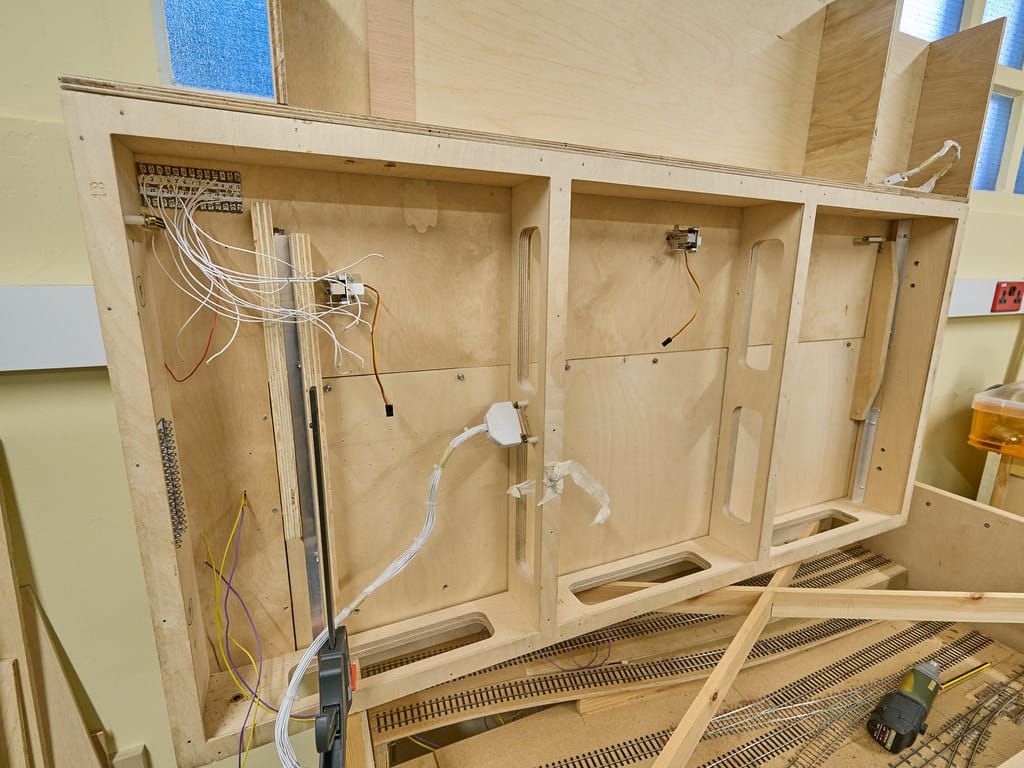
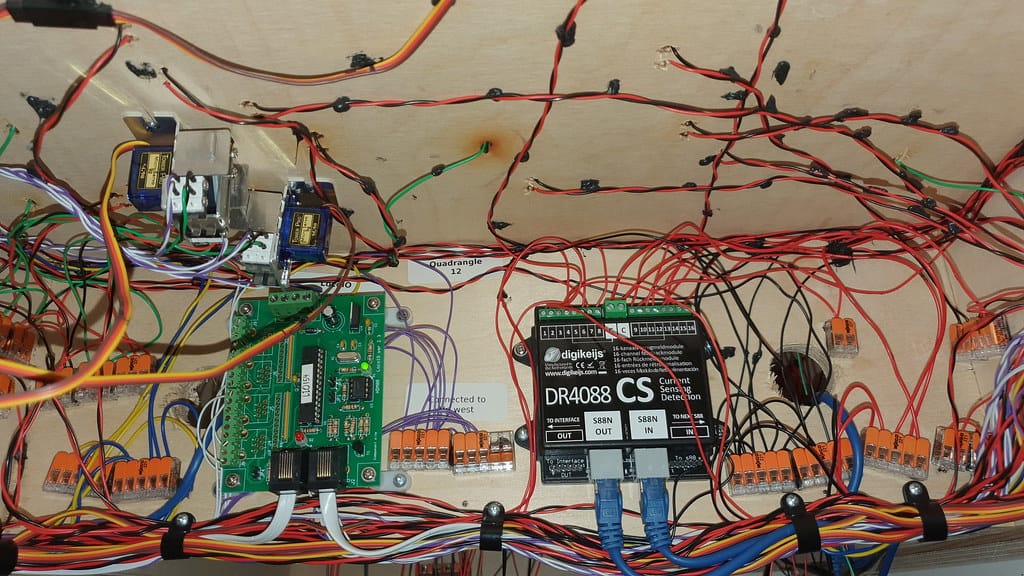
Run the Bus Wire First
Two runs of 16 AWG stranded tinned copper wire, one for each rail, running the full length of the layout. In the US, 14 AWG stranded hook-up wire is the standard choice. In Australia, 16 AWG silicone stranded wire works well and handles the heat.
Use two colours. Red for one rail, black for the other. Keep the same colour on the same rail all the way around the layout. This seems obvious until you’re soldering your eighth feeder at an awkward angle in poor lighting, and it stops being obvious.
Secure the bus with cable staples or P-clips every 30 centimetres, enough that it doesn’t sag. Leave extra length at the controller end. You’ll cut to length when you make the final connection; you can trim, you can’t add.
Where baseboard sections join, use a terminal block. Strip 6-8mm of insulation from each bus end, insert both wires into the connector, tighten the screw. A pack of screw terminal connectors rated for 14-16 AWG costs £3-6 in the UK or $5-8 in the US. Twisted wire joins look fine until they don’t.
Drill the Feeder Holes
At each marked feeder point, drill a hole through the baseboard next to the rail. A 3mm bit is large enough for 20-22 AWG feeder wire. Drill from above, through any roadbed, down through the baseboard.
Drill close to the rail but not underneath it. You want to come up at the web of the rail, the vertical section between the foot and the head. That’s the correct soldering point. A few millimetres outside the rail is fine.
Solder the Feeders
Cut 25-30cm lengths of 20-22 AWG stranded wire. One red, one black per pair. Thinner than the bus wire. It only needs to carry current across a short distance to the rail.
Thread the wire up through the drilled hole. Leave 8-10cm above the baseboard to work with. You’ll trim it once it’s connected.
Before touching the iron to the rail, clean the rail with a fibreglass track rubber or fine wet-and-dry sandpaper at the soldering point. The surface needs to be bright copper-coloured, not oxidised grey. Solder won’t adhere to oxidised rail. Most soldering problems I’ve been asked to diagnose come back to this step being skipped. Clean the rail.
Bend the top 4-5mm of the feeder wire at 90 degrees. That bent tip presses against the rail web. Hold it there while you solder.
If the track has plastic sleepers within a centimetre of the solder point, pack wet kitchen paper against them before applying heat. The iron will melt plastic faster than you expect.
Apply a small amount of flux to the rail web at the connection point. Hold the Antex XS25 against the rail for two to three seconds to bring the rail up to temperature. Touch the solder to the joint, not to the iron. The solder should flow in immediately. Remove iron and solder. Three to four seconds total.
Leave it to cool. Don’t move the wire while it sets. A cold joint from movement looks identical to a good one and won’t conduct reliably. That’s the joint that causes intermittent faults three months later.
Once cool, test it: hold the feeder wire and tug firmly. A good joint holds without any movement. If it shifts at all, the joint failed. Reheat and redo it.
Repeat for every feeder point on the layout. All of them, before connecting anything to the bus.
Connect Feeders to the Bus
With all feeders soldered and tested, run them down through their holes to the bus below. Strip 6-8mm of insulation from the bus wire at each feeder connection point. Wrap the feeder wire tightly around the stripped section and solder the join. Keep colours consistent: red feeder to red bus, black to black. Every time.
An alternative to soldering the bus connections: suitcase (IDC) connectors. These clamp onto the bus wire without cutting it and pierce the insulation to make contact. Faster to install, but marginally less reliable over time. I use them on exhibition modules and anything I expect to dismantle — on a baseboard that’s staying put, I solder every connection. Either method works on a home layout; the choice comes down to how permanent the installation is.
Trim any excess feeder length once connected. Tuck everything up against the underside of the baseboard so nothing hangs loose.
The Short Circuit Test
Before the power pack is connected, test every section of the layout for shorts.
Set the AstroAI multimeter to continuity mode. Touch one probe to the top of the left rail, the other to the top of the right rail. The multimeter should not beep. Any beep means the two rails are connected somewhere: a short.
Work the probes along the rails, section by section. When the beep starts at a particular point, you’ve found the location. Common causes: a rail joiner bridging both rails, stray solder bridging a gap, a point set incorrectly, or a stray piece of wire touching both rails. Fix every short before connecting power.
This takes 10 minutes. Skipping it and powering up through a short can trip a fuse, damage the controller, or burn a wire on unprotected older equipment. Find the shorts now.
Connect the Power Pack
The bus connects to the controller at one point. Strip the ends of the bus wire and connect them to the output terminals on the power pack. Most analogue controllers in the UK have two screw terminals on the front panel, marked with a track symbol or labelled “Out”. US packs often label them A and B.
For a first DC layout, the Gaugemaster GMC-COMBI handles everything you need: smooth speed control, direction reverse, and a built-in transformer. Around £40-45 in the UK. I’ve had one running on a permanent layout for close to a decade and it’s still as smooth as it was on day one. For US layouts, most hobby shops stock single-cab DC controllers from MRC, Atlas, and Bachmann in the $25-45 range. Any of them works for a first layout [ASIN-NEEDED: US DC controller]. In Australia, the Gaugemaster COMBI is available through hobby importers at around AUD$70-90, or local hobby shops stock equivalent units.
Connect red bus to one terminal, black bus to the other. Keep the colour assignment consistent: whatever you called “red rail” when you installed the bus stays red at the controller. If you reverse it, the loco runs backwards when you push forward. Not a fault. Just an inconsistent connection decision. Swap the terminals at the controller once and it’s fixed.
The First Run Test
Before a loco goes on the track, do one final check. Set the multimeter to DC voltage. Set the controller to half speed. Touch the probes to the rails at several points around the layout. You should read 6-8V DC at each point, consistent across the whole layout.
Readings significantly lower at the far end suggest a marginal feeder connection or a weak bus joint somewhere. The multimeter will find it: probe either side of the suspected area and compare. The drop will be clear.
Place a loco and dial up slowly. It should run smoothly in both directions at consistent speed anywhere on the layout.
If it stutters or stops at one particular section, that’s a weak feeder or a dirty joint. If it doesn’t run at all, check the controller fuse first, then check that the bus colour coding is consistent from end to end.
Most first runs have one problem to find and fix. Find it with the multimeter and it takes minutes. Find it by guessing and it takes an afternoon.
Part 4 covers the upgrade from DC to DCC: what changes in your wiring, what stays the same, and what to buy.