Fitting Your First DCC Decoder: What You Need to Know Before You Cut a Wire
Fitting a decoder for the first time feels enormous. Understanding what the chip does, how the connectors differ, and which CVs actually matter makes the procedure make sense.

The first DCC decoder fit feels enormous. You've got a loco that cost £200, £400, sometimes more, sat upside down on the workbench, and the next move involves removing tiny screws, lifting a body shell with brittle plastic tabs, and possibly cutting wires that the manufacturer soldered in place. The voice in your head says: this is the bit where I ruin it.
That voice has a job. It's keeping a £400 loco safe from a careless decision, and most modellers who've fitted ten or fifteen decoders had the same conversation with themselves on number one.
By the third fit you've stopped worrying. Soldering technique improves slowly. Understanding improves quickly, and what you understand by fit three is what the chip is actually doing, why there are four different connector standards, and what goes wrong when something goes wrong.
This article will not tell you how to fit a decoder to a Hornby Class 47 or a Bachmann Class 37. There are loco-specific guides for that, and they are better at the procedure than any general article can be. What this covers is the foundation. By the time you finish reading, the loco-specific guide should make sense.
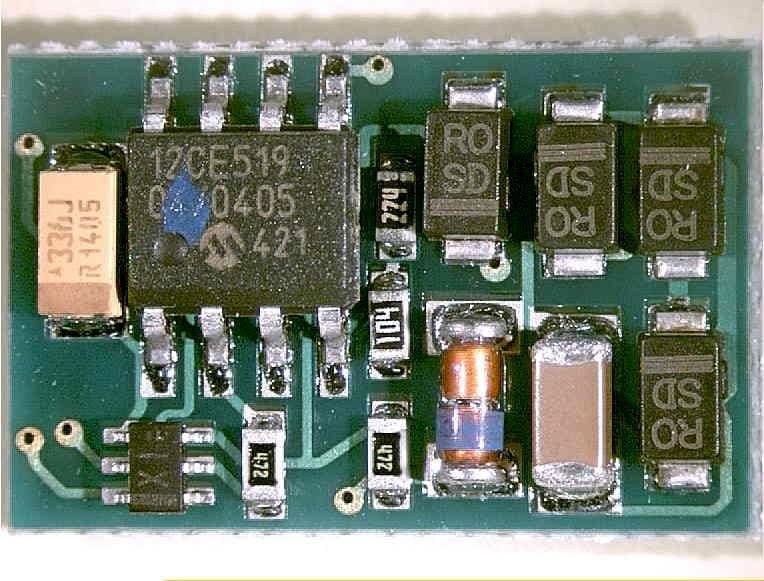
What a Decoder Actually Is
A DCC decoder is a small circuit board that sits inside a locomotive. On one side, two wires (or pins) connect to the wheel pickups. On the other, two more connect to the motor. In between are some additional outputs for lights and, on better decoders, a few extra functions you can switch on and off.
Every decoder has its own address. When the command station sends a signal down the track addressed to loco 47, every decoder on the layout receives the signal. Forty-six of them ignore it. Number 47 reads it, decides what to do with the motor and the lights, and acts.
That is the whole job. The chip is a small computer that listens for its own number, controls a motor, and switches some outputs. The ways it dies are short on the list: reverse polarity, oversized current, or a soldering iron held to a pad for ten seconds. Once you know those, the chip stops being mysterious.
If you want the broader context for how DCC actually works under the track, Wiring Part 4 covers the move from DC to DCC.
Why There Are So Many Connector Standards
If you've spent half an hour looking at decoders before reading this, you've already seen 8-pin, 21-pin, Next18, PluX, and "hardwired" all listed as separate categories. They are not separate types of decoder. They are separate ways of attaching the same kind of circuit board to the loco.
8-pin NEM652
The original socket. A small black plug with eight pins in two rows of four. It carries pickups, motor, and three function outputs. Most OO and HO locos made between roughly 2000 and 2015 use this. It is the connector you'll see most often if you're upgrading an existing fleet.
The limitations of NEM652 are why the others exist. Eight pins do not leave room for a speaker, a stay-alive capacitor, or more than three lighting functions. Once decoders started growing past those limits, a new socket was needed.
21-pin MTC (NEM660)
Six rows. More function outputs. Connections for a separate speaker, which means the decoder and the speaker can sit in different parts of the loco. That is the bit modellers find most useful: in a tight tank engine, the decoder might fit in the bunker and the speaker under the boiler.
A loco listed as "21-pin DCC ready" is usually built with sound in mind, even if you fit a non-sound decoder initially. The internal space, the speaker mounting, and the wiring routes have all been planned for it. Most newer Bachmann, Dapol, and Hornby OO models from about 2015 onwards are 21-pin.
Next18 (NEM662)
A tiny 18-pin connector designed for small locos. Industrial cliché aside, it really does fit on a coin. N gauge, TT, and small OO industrials and tank engines use it because there is nowhere else to put a decoder.
If your loco has a Next18 socket, you have less choice in decoders, and the ones available cost slightly more for less power. That is the trade-off for not having to hardwire it.
PluX22
Less common in the UK, more common on continental locos. A 22-pin connector that sits between 8-pin and 21-pin in capability. If you have a Roco or Fleischmann model, check whether it's PluX before ordering.
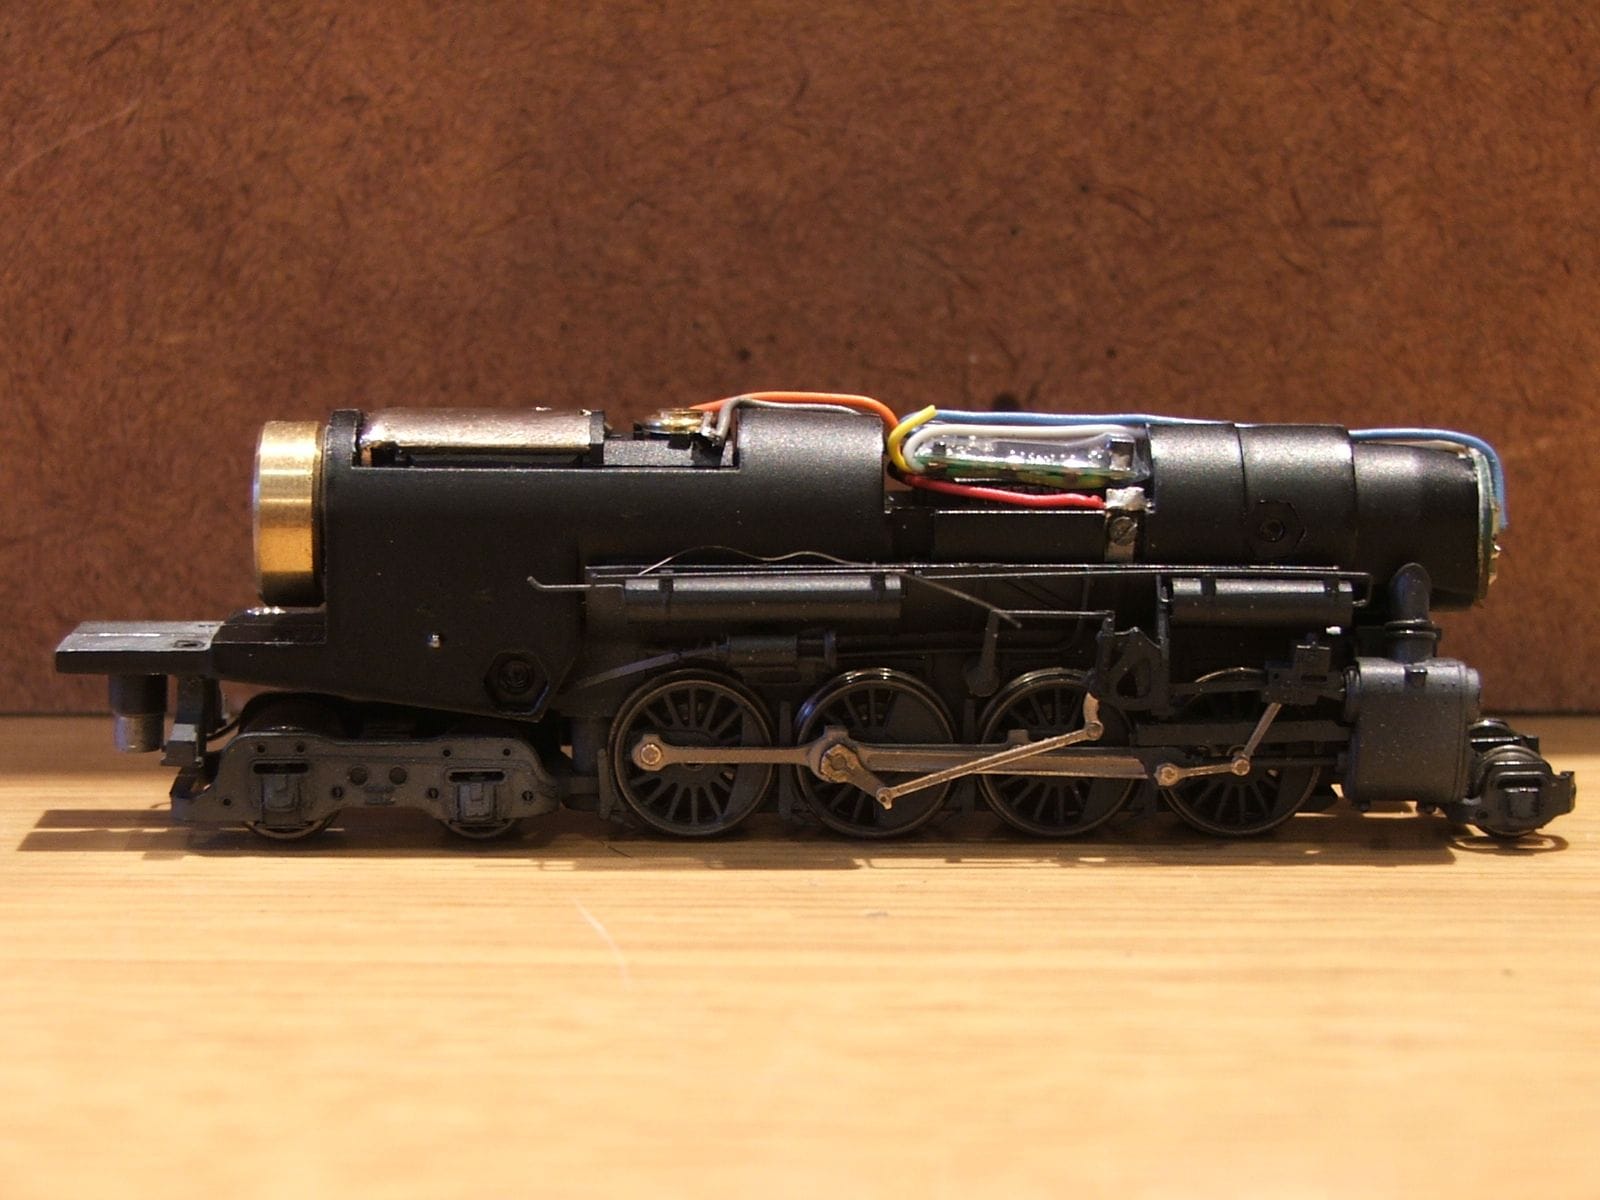
Hardwired
For locos with no socket. The decoder has flying leads, and they get soldered directly to the motor terminals, the pickups, and the lighting circuits. Older Hornby tender drives, pre-2005 Bachmann mechs, and most kit-built locos fall into this category.
Hardwiring is a slower job. Once you've done it, the difficulty drops to the same level as a plug-in fit. The risk that catches people out is the motor brushes: many older mechs have suppression capacitors fitted across the brushes, and those capacitors will fight the decoder unless removed first. Every loco-specific guide for older mechs covers this. Read it before you start.
Sound or Non-Sound
A non-sound decoder for OO gauge runs roughly £25 to £45 depending on brand. A sound decoder for the same loco runs roughly £100 to £160, sometimes more. Why the gap?
Two reasons. Sound decoders carry an audio chip and a sound file specific to the prototype. Loading a Class 37 file into a Class 47 will work, but it will sound wrong, so the project is in the file as much as the chip. ESU LokSound, Zimo MX, and the various sound decoder makers all charge for the recording and tuning work, not just the silicon.
The second reason is space. A sound decoder needs a speaker. In a Hall or a Class 47 there is room. In a Pannier tank or a Class 08 shunter there is not. The hard part of fitting sound to a small loco is finding a millimetre of clearance for a sugarcube speaker without trapping it against the body shell, which kills the audio. The decoder itself is the easy part.
If this is your first decoder, fit a non-sound one. The speed control alone is the bigger upgrade. Sound is the second project, on a loco with the space for it.
Current Rating
Every decoder is rated for a maximum continuous current. For OO and HO, 1A is the standard for most modern decoders, with 1.5A and 2A available for heavier loads.
Modern Bachmann, Dapol, and Hornby mechs almost all draw under 0.5A in normal running. A 1A decoder is more than enough. Where it gets interesting is older split-frame mechanisms, double-headed configurations, and a handful of specific locos with high stall currents. The Bachmann Class 25 from the early 2000s is one. Some older Lima conversions are another.
If a decoder is undersized, two things happen. The decoder runs hot. Then it shuts down, sometimes intermittently, sometimes for good. There is no warning before this happens. A decoder rated at 0.5A in a loco that occasionally draws 0.7A under load will work fine for a month and then quietly cook itself.
When in doubt, oversize. The price difference between a 1A and a 1.5A decoder is rarely more than a few pounds.
The Four CVs You'll Actually Touch
A modern decoder has dozens of configuration variables. CV settings can adjust everything from the lighting effects to the direction of the motor pulse. Most of them you will never need.
Four CVs cover the day-to-day:
CV1: address. The number your command station uses to talk to this loco. Factory default is 3. Change this, or you'll have a fleet of locos all responding to the same command.
CV2: start voltage. Sets the voltage at speed step 1. If your loco doesn't move on the lowest throttle setting, raise CV2 until it crawls smoothly. Typical values sit between 1 and 10.
CV3: acceleration. How long the loco takes to reach the speed you've asked for. Higher number, slower acceleration. A heavy goods loco accelerating like a sports car looks wrong; CV3 fixes that.
CV4: deceleration. The reverse of CV3. How long it takes to stop.
Anything beyond those four is fine-tuning. Lighting effects, function mapping, sound volumes, momentum curves. Get the four basics right and the loco runs well. Everything else is refinement.
The thing that makes a modern decoder run smoothly at low speeds is back-EMF, also called load compensation. The decoder reads what the motor is doing, compares it to what you've asked for, and adjusts the output. That is why a £36 ESU LokPilot 5 will crawl across a points throat that an old MRC decoder used to stall on. Most decoders have back-EMF on by default. Leave it on unless a specific guide tells you otherwise.
If you want the wider context on why command stations vary in how cleanly they handle CV programming, the DCC system comparison goes into that in detail.
When to Send It Out
A few honest reasons to pay someone else to fit a decoder:
The loco is valuable and you'd rather not be the one who damages it. A new Heljan Class 35 in O gauge, a brass kit, an out-of-production Bachmann Branchline. Pay the £35.
You don't have a soldering iron, and the loco is hardwire-only. Buying the iron, the solder, the helping hands, and the tip cleaner adds up to more than the fitting fee.
You have limited dexterity, eyesight, or workbench time. Decoders are small. Some of the soldering points are the size of a pinhead. There is no shame in handing the job to someone whose workshop is set up for it.
In the UK, Rails of Sheffield charge around £35 for plug-in decoder fitting on OO and N. Coastal DCC handle full sound installs including speaker selection. HobbyTrax and DCC Concepts both offer similar services. Turnaround is usually one to two weeks.
Sending a loco out is a sensible use of money. Some modellers love wiring and decoder fitting. Some would rather build scenery, paint figures, or run trains. Both are valid uses of a Saturday afternoon.
Now Go Find the Specific Guide
The procedure is loco-specific. The Bachmann 32-385 Class 37 has a different decoder access route from the Hornby R3766 Mallard. The Dapol Pannier requires the chassis to come apart in a particular sequence, and the YouTube videos showing it are clearer than any written guide.
Before you start, do these three things:
Take a photograph of the loco from multiple angles, particularly the chassis side, before you take anything apart. If you mis-route a wire on reassembly, the photograph is the reference.
Read the decoder manual. Modern ESU and Zimo manuals are well written. The default CV values are in there, the function mappings are in there, and the troubleshooting section will save you on the day something doesn't work the way you expected.
Have the loco-specific guide open on a phone or tablet next to the workbench. Stop after each step and check.
The first fit takes an evening. By fit five you stop double-checking the photograph between steps. By fit ten you're back to wondering what the next loco on the bench should be.