Model Railway Wiring Tools: What to Buy Before You Start
I spent more on a single locomotive than I spent on my first soldering setup. That thinking cost me an afternoon. Here's what to buy instead.

Part 2: The Tools You Need Before You Start Wiring
I have spent more on a single locomotive than I spent on my first soldering setup. Not because good tools cost that much — they don’t. I just didn’t think it mattered. Iron is iron. Wire is wire. A stripper strips. Close enough.
That thinking cost me an afternoon.
The iron I’d been using was a £7 job from a hardware shop. Fixed temperature, no control, heated to whatever it felt like that day. The first joint I made looked fine: I pressed the iron against the wire, melted some solder in, and it held. Three weeks later that section of track started giving intermittent faults. Locos slowing for no clear reason. DCC signal drops mid-run. I cleaned the track. I reseated the connectors. Everything looked fine.
It wasn’t. It was a cold solder joint. The iron had run too hot, the solder had flowed over the connection without actually bonding to it. Cold joints are invisible until current runs through them. The diagnostic process, if you don’t know what you’re looking for, is essentially “clean the track repeatedly while becoming increasingly confused.” That’s the process I ran. It took about three hours. The fix, once I understood what I was looking at, took thirty seconds.
I was making the same assumption about wire strippers. The manual stripper I had nicked the copper on roughly every third feeder I made. I thought I was just bad at wiring. I wasn’t. The tool was. The multimeter I found out I needed at about 11pm on a Tuesday, reading a forum thread in which someone patiently explained that a continuity test would tell me exactly what I needed to know. I didn’t own one. I bought one the next morning.
None of this kit is expensive to get right. The full set, iron, strippers, multimeter, helping hands, solder, and heat shrink, runs £70–115 in the UK, $81–134 in the US, or AUD$135–221 in Australia. That is less than most of the rolling stock already on your layout. It will save you more hours than you’d expect.
Get a Temperature-Controlled Iron
A cheap uncontrolled iron heats to a fixed temperature, stays there, and burns through components. It melts trackside insulation. It creates cold joints that fail weeks later. A soldering gun is worse: designed for plumbing, it runs too hot for electronics work and gives you no control.
Get a temperature-controlled iron in the 25 to 40W range. That’s the right power for model railway work: enough heat to flow solder quickly without scorching fine wire or plastic.
In the UK, the Antex XS25 is the standard for model railway soldering. It’s 25W, precise, and costs around £34–36. Every experienced UK modeller who solders will have one or will have considered one. The Draper 30W is a capable backup at £13–15.
For US modellers, the Plusivo 60W Digital Soldering Iron Kit runs $25–30, heats quickly, and includes a stand and spare tips. In Australia, the Antex XS25 ships via Amazon AU at around AUD$60–70 with freight. Hobby Tools Australia also stocks temperature-controlled irons in the 25–40W range.
Self-Adjusting Wire Strippers
If you’ve ever nicked through a bus wire you’ve already routed under a baseboard, it was almost certainly a cheap manual stripper. The kind where you adjust a blade gap for each gauge: they strip too deep, nick the copper, or leave insulation on the wire. Self-adjusting strippers sense the wire gauge automatically. Insert the wire, squeeze, done.
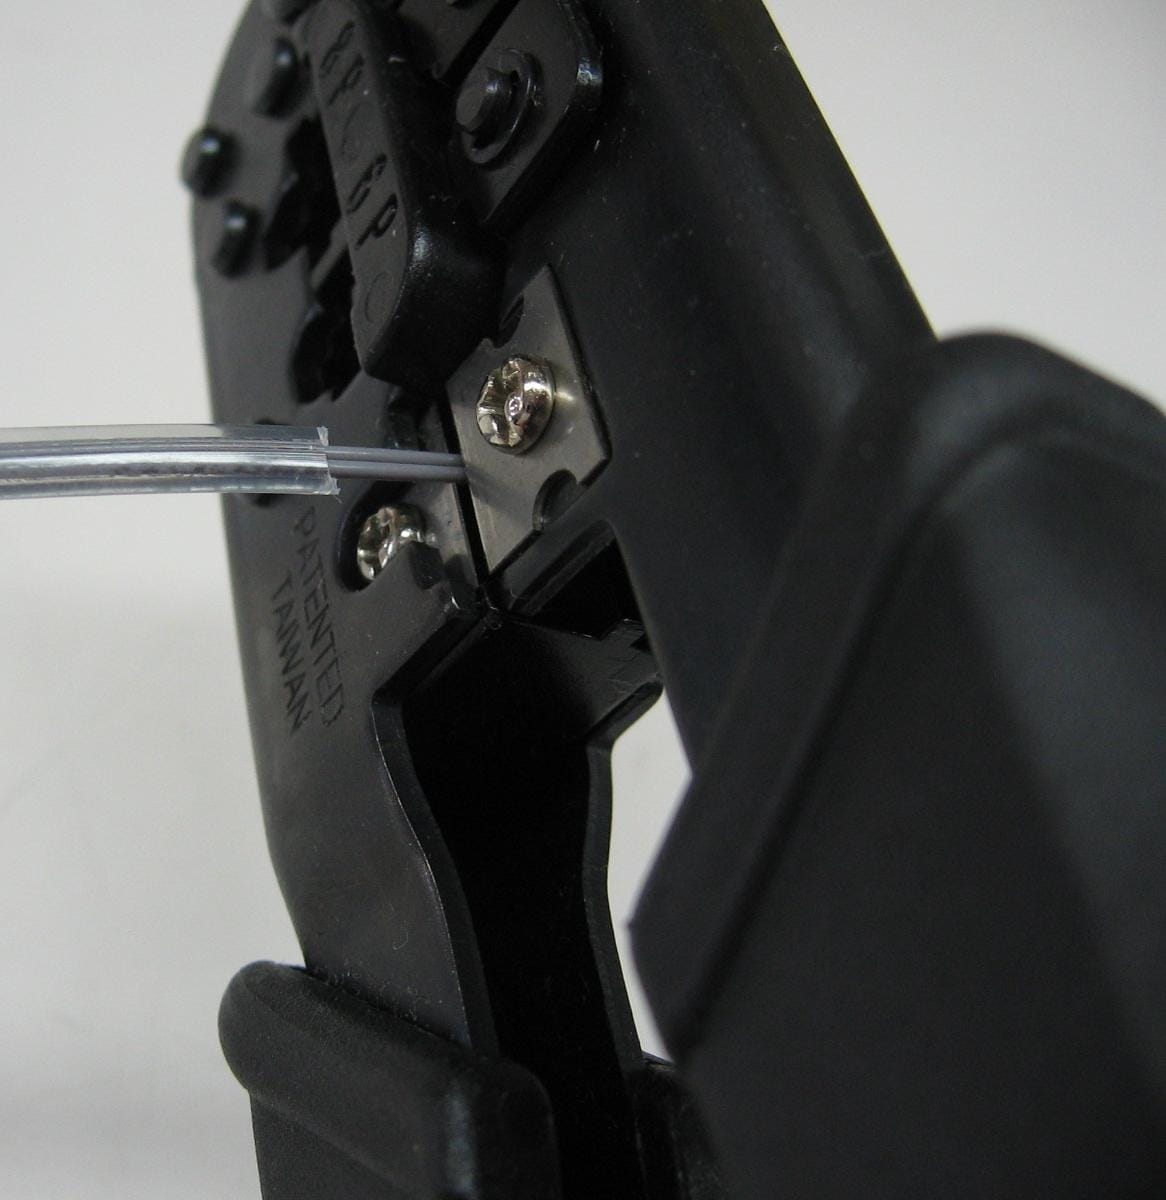
The ENGINEER PA-06 is the one to buy. Japanese-made, sharp, handles AWG18 to AWG30 without hesitation. Around £15–18 in the UK and $18–22 in the US. It’s on every joint, multiple times per layout. The budget saved by buying a cheaper stripper will evaporate the first time it costs you a re-run of wiring you’ve already finished.
The Amazon Basics self-adjusting stripper at £8–10 works and is a legitimate starting point. But if you can run to the ENGINEER, do it. The PA-06 is available via Amazon AU for Australian modellers.
The Multimeter Finds What You Can’t See
Most wiring faults aren’t visible. A cold joint, a dead track section, a short, a failed decoder: all of them look identical before you power up. Without one, you’re fault-finding by elimination. Working through every possible cause while the layout sits on the bench doing nothing. That’s the situation I described at the end of Part 1. A multimeter finds the same problem in ten seconds.
Any basic model covers everything needed for layout wiring: DC voltage, continuity, and resistance. The AstroAI Digital Multimeter runs £15–20 in the UK and $18–25 in the US, with AC/DC voltage, resistance, continuity, and a backlit display. The Crenova MS8233D covers the same ground at the same price. In Australia, equivalent models on Amazon AU run AUD$25–35. Avoid anything under £10. The readings can’t be trusted.
Continuity is the function you’ll use most. Solder a joint, test continuity across it. Before powering up a freshly wired layout, test every joint. Shorts show up there rather than through a damaged controller.
Helping Hands Hold the Work Still
Soldering takes both hands: one for the iron, one for the solder. The joint needs to stay still. A helping hands tool is a stand with flexible arms and alligator clips. It holds the wire in position while you work.
The Fancii LED Helping Hands Magnifier is listed on both Amazon UK and Amazon US under ASIN B01882K0OC. Around £20–25 in the UK and $22–28 in the US. The magnifying lens and LED light are genuinely useful for model railway work where connection points are small and close together.
A basic stand without the magnifier runs £8–12 in the UK or $10–15 in the US. The magnifier is nice. The stand and clips are essential.
Rosin-Core Solder, 0.7mm
Beginners buy plumbing solder. It has the wrong alloy, melts at higher temperatures, and doesn’t flow cleanly on fine electronics joints. Never use it.
The correct solder is rosin-core electronics grade, 60/40 or 63/37 tin/lead ratio, 0.5mm or 0.7mm diameter. Thicker solder, 1.5mm or 2mm, is designed for large plumbing joints and gives you no control on track and bus wire connections.
In the UK, Stannol HS10 is the standard choice: 60/40 rosin core in 0.7mm, available in 25g or 100g spools. The 25g spool covers a full layout and costs around £6–8. In the US, MAIYUM and AIM both produce reliable 63/37 rosin-core solder in 0.7mm at $8–12 for a small spool. For Australia, Hobby Tools Australia stocks suitable electronics solder.
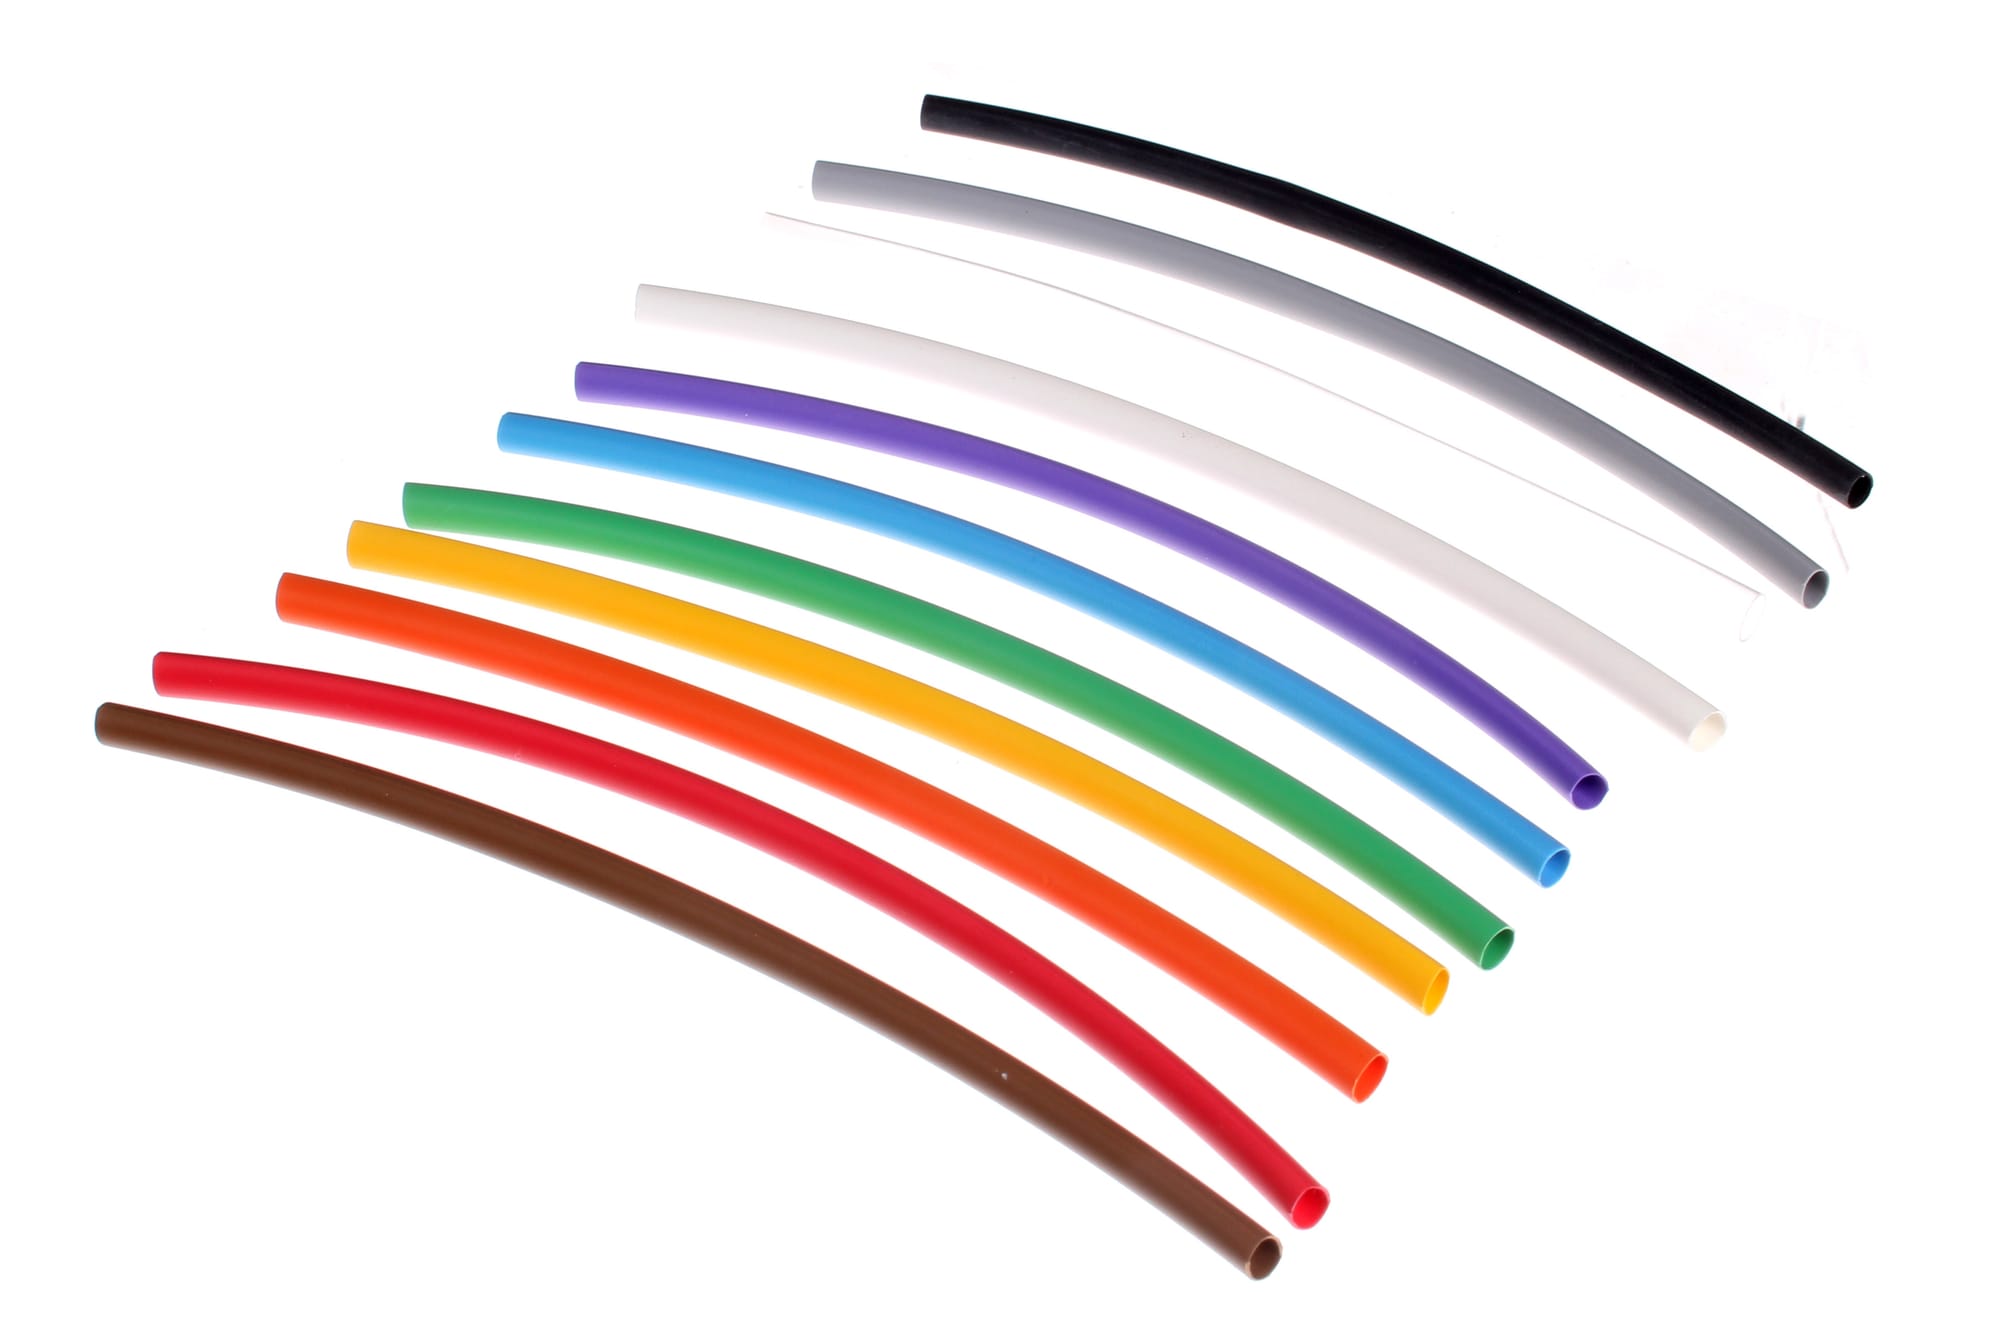
Heat Shrink After Every Joint
After soldering, heat shrink tubing seals and insulates the connection. A mixed assortment pack, 1.5mm to 8mm, covers every connection size you’ll encounter on a model railway.
The Draper 95-piece heat shrink assortment runs £6–8 in the UK. Similar packs cost $8–12 in the US and AUD$12–18 in Australia. One pack lasts through multiple layouts.
What the Full Kit Costs
| Item | UK | US | AU |
|---|---|---|---|
| Soldering iron | £25–36 | $25–35 | AUD$50–70 |
| Wire strippers | £10–18 | $12–22 | AUD$18–30 |
| Digital multimeter | £15–20 | $18–25 | AUD$25–40 |
| Helping hands | £8–25 | $10–28 | AUD$18–45 |
| Solder (25g spool) | £6–8 | $8–12 | AUD$12–18 |
| Heat shrink pack | £6–8 | $8–12 | AUD$12–18 |
| Total | £70–115 | $81–134 | AUD$135–221 |
The iron and the multimeter are non-negotiable. Everything else is a matter of how much frustration you’re willing to accept. Buy the Antex and the AstroAI first. Add the ENGINEER stripper. The rest can follow.
Bad joints fail weeks after you finish. They fail at exhibitions. They fail during a running session when everything looked fine at the bench. Diagnosing and repairing a joint-related fault always costs more time than buying the right tools at the start.
Part 3 covers wiring a complete DC layout step by step: bus wire installation, feeder connections, and testing before the first locomotive runs.