What Is a Bus Wire? Why Your Model Railway Layout Needs One
Locos slowing at the far end of the layout? The track isn't dirty. Here's the actual fix — and why it works.

Part 1: Why Your Layout Needs a Bus Wire
I’d been told I needed a bus wire for about six months before I bothered to ask what one was. The advice came from everywhere: forums, YouTube, the bloke at the model railway club who’d been doing this since before I was born. You need a bus wire. Right. You nod, put it on the shopping list, install it the way the guide says. Nobody explains what it’s actually doing and you don’t want to seem like you don’t know.
Then DCC hit. Bus wire. Feeder wires. Dropper wires. Terminal blocks. Power districts. Sub-buses. I thought DCC was supposed to be “just two wires.” That’s what everyone said. But every guide assumed I already knew what all these things were and why they existed. It just told me where to put them. I muddled through in the end. Took a weekend of forum tabs and trial and error, and wiring two sections in the wrong order, before anything made sense.
What cracked it wasn’t finding a better guide. It was understanding why the bus wire exists, the actual problem it’s solving. Once that clicked, the rest followed in about ten minutes. No guide starts there. They all assume you already know.
So: what is a bus wire, and why does your layout need one?
How the Current Travels
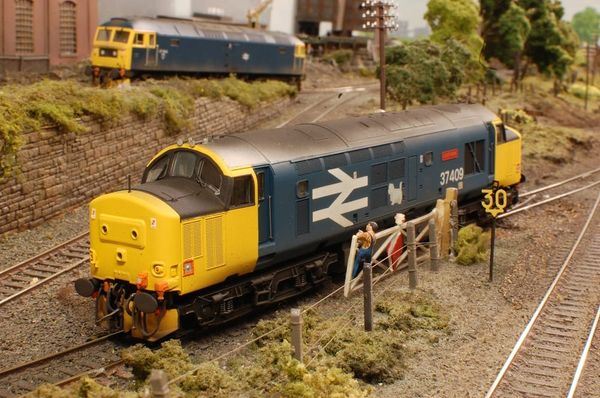
A locomotive needs a complete electrical loop to run. Current flows in through one rail, through the motor, and back out through the other. Break either path and the loco stops.
Your power pack connects at one point on the layout and sends current both ways along the rails. The loco picks up whatever voltage is available at the point its wheels touch. It doesn’t care where the power pack is.
What Happens at the Far End
Electricity weakens as it travels. Every conductor has resistance, and resistance bleeds voltage. The longer the current travels through thin rail, the more is lost before it reaches the loco. This is voltage drop. Physics, not a fault.
Think of it like water pressure in a garden hose. Full flow through a short hose; a trickle from a 100-metre one. The tap pressure hasn’t changed.
Your power pack sends 12V DC along the rail toward the far end of the layout. DCC runs at 16V but the same principle applies. At 3 metres, the loco might see 11.8V, which is fine. At 5 metres, under 10V, it’s running slow. At 8V it creeps. At 5V it stops.
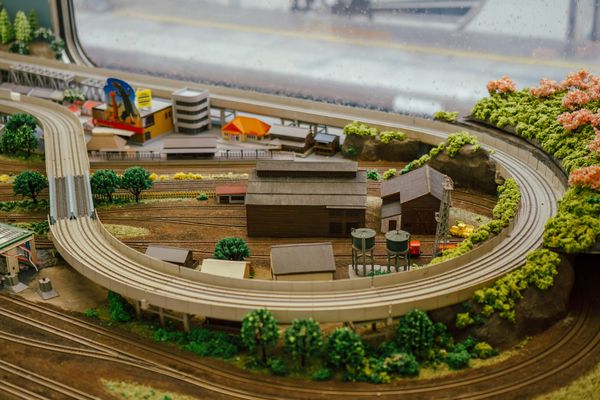
On a small starter oval, 1.2 metres or less, the drop is negligible. On a 2x3 metre layout you’ll notice it. On anything larger, it’s the first wiring problem to solve.
The symptom is specific: locos run well near the power pack and slow in the same far corner every time. Most beginners clean the track. They spend hours on it. The track wasn’t dirty.
The Wire Under the Board
The fix is to stop asking the rails to carry power the full length of the layout. Run a heavy-gauge wire, 14 to 16 AWG stranded copper, along the underside of the baseboard for the full run. That’s the bus wire.
Short feeder wires, 20 to 30 cm each, connect the bus up to the track every 1 to 2 metres. They’re too short to lose meaningful voltage. Every loco on the layout now sees consistent power regardless of where it sits on the track.
Low-resistance highway under the board. Short feeders up to the track. Consistent voltage everywhere.
Gauge: Smaller Numbers Mean Thicker Wire
American Wire Gauge, abbreviated AWG, is the standard for wire thickness and it works backwards from what you’d expect: 22 AWG is thin, 14 AWG is heavy.
For the bus, 16 AWG stranded copper handles most home layouts up to 3 metres. If your bus runs longer than 4 metres without a break, use 14 AWG. Thicker wire is never a problem. It just costs a bit more and is harder to route neatly under the board.
Feeders are different. At 20 to 30 cm, voltage drop across them is negligible. 20 to 22 AWG is plenty, thin enough to fit alongside the track without fighting for space.
Solid Wire Will Let You Down
Use stranded wire for the bus. Stranded copper is many thin threads twisted together. It’s flexible, routes easily under a baseboard, and seats cleanly in terminal blocks.
Solid core is a single copper rod. Cheaper. But it bends once and stays bent. Reshape it and it cracks. A bus wire running the full length of a layout needs to flex as you route it. Solid core creates failure points.
How Far Apart
Add a feeder connection every 1 to 2 metres of track. One every 2 metres is the standard; every 1 metre adds redundancy with no downside.
If one feeder corrodes or works loose, adjacent feeders keep that section powered. A single power-pack connection at one point on the track has no such protection. Any break and the loco stops.
Joining Sections
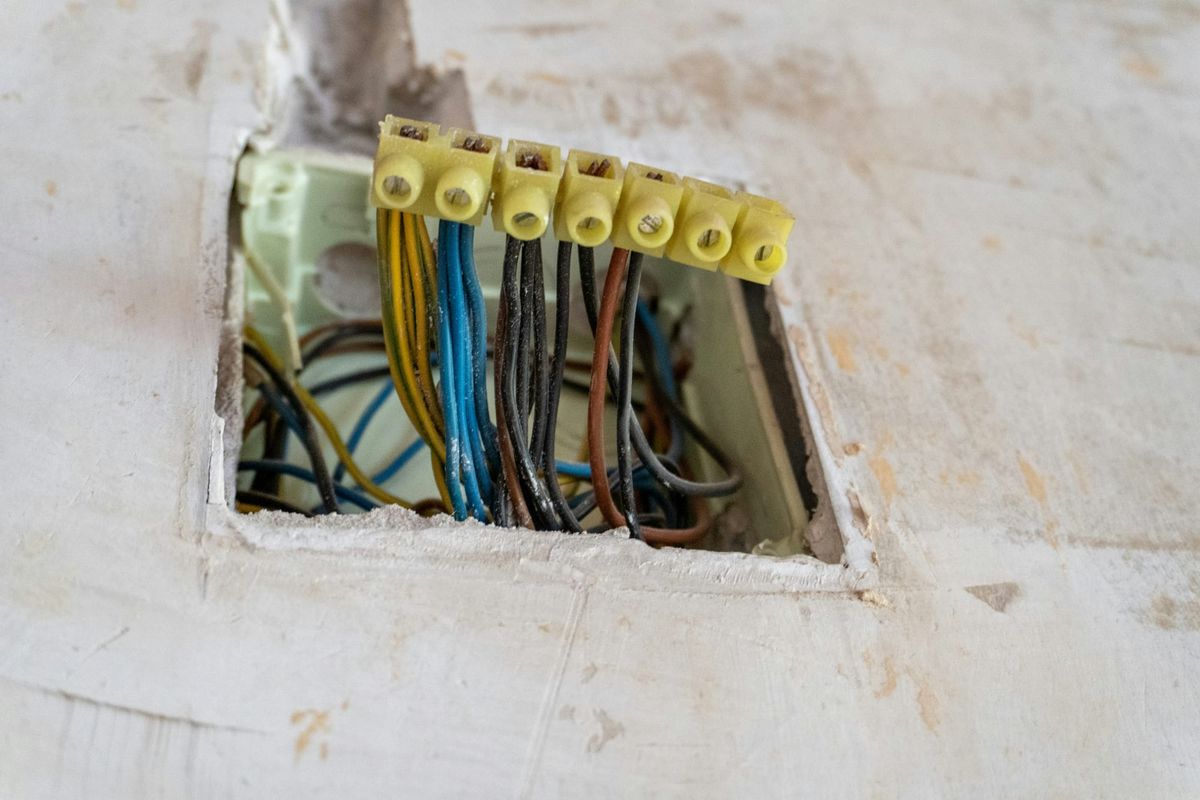
Large layouts can’t always run a single continuous bus all the way around. Where sections need joining, use a terminal block. Strip 5 mm of insulation from each wire end, insert both into the connector, tighten the screw. Done.
This is also where you connect the power pack to the bus. It’s cleaner than soldering and more reliable than twisting. Never just twist two bus wire ends together. It looks like a connection. It isn’t a reliable one.
What to Buy
For a small to medium layout, up to about 3 metres of continuous bus, you need three things.
Bus wire: 16 AWG stranded tinned copper wire in the UK, 14 AWG stranded hook-up wire in the US, or 16 AWG silicone stranded wire in Australia. Buy 10 to 15 metres. Cost: £15–25 (UK), $20–30 (US), AUD$30–40.
Feeder wire: 20 to 22 AWG stranded in a contrasting colour, red for the positive rail, black for the return. A 25-foot spool covers most layouts. Cost: £5–10 (UK), $8–15 (US), AUD$12–20.
Terminal blocks: A pack of 5 to 10 screw connectors rated for 14 to 16 AWG. Generic electrical connectors, available at any electronics supplier or on Amazon. Cost: £3–6 (UK), $5–8 (US), AUD$8–12.
Total: £25–40 (UK), $35–50 (US), AUD$50–70. That’s the foundation. Everything else in the layout’s wiring connects to these.
Part 2 covers the tools: soldering iron, wire strippers, multimeter, and why getting them right before you start saves hours of fault-finding later.