Static Grass for Beginners: Tools, Technique and Realistic Fields
Static grass is the single biggest upgrade you can make to a layout's scenery, and the tool that applies it is really an electronics gadget. What to buy, how the charge works, and the layering method that makes fields look like fields.

Static grass is nylon fibre, cut to scale lengths, that stands bolt upright when it lands on glue. That upright fibre is the whole trick. Scatter, the coloured sawdust most of us started with, lies flat and looks like green sand however carefully it goes down. Grass fibre standing on end catches the light the way a real field does, and the difference between the two is visible from across the room.
It’s also, quietly, the most electronics-flavoured job in scenery. The applicator that makes the fibres stand up is a static charge generator running off a 9V battery, and understanding what it’s doing makes you noticeably better at using it. Scenery on our spare room layout is my cousin’s department, so most of the technique below is his. The machine is mine. This is the split as it should be, because the machine is the bit that behaves like electronics and the technique is the bit that behaves like art.
How the applicator actually works
An applicator is a sieve with a high-voltage generator attached. The 9V battery feeds a converter that steps the voltage up to several thousand volts at almost no current, which is why the thing can bite you with a sharp little snap and still be harmless. One side of that charge goes to the metal sieve. The other goes down a flying lead to a metal pin or crocodile clip, and that lead is the part beginners ignore.
The fibres pick up charge as they fall through the sieve. Charged fibres want to travel to the opposite pole, which is the pin on the end of your earth lead. So you push the pin into the wet glue, or clip it to something conductive touching the glued area, and the fibres fly down and plant themselves upright in the glue like tiny javelins, aligned along the field between sieve and pin.
Skip the earth lead and there is no field. The fibres just fall out of the sieve and lie down, and you’ve paid £60 for a flour sifter. Every disappointing first attempt I’ve seen traces back to this. The pin goes in the glue, every time, and it wants to be within 15cm or so of where you’re working. On a big area, move it as you go.
Which applicator to buy
Three realistic options, and the honest answer is that all three produce standing grass.
| Applicator | Typical price | Best for |
|---|---|---|
| Generic eBay/Amazon unit | £25–£35 | Trying the technique without commitment |
| WWS Pro Grass Micro | £55–£68 | Most OO gauge layouts. The default choice |
| Peco PSG-1 (made by WWS) | around £95 | Large layouts, frequent big areas |
The WWS Pro Grass Micro is the one on our workbench, and it’s the one I’d hand a beginner. WWS make static grass machines in Wales and have done for years; the Micro takes everything from 1mm to 6mm fibre through its supplied sieve, runs on a PP3 battery with no trailing mains lead, and the charge is strong enough that fibres stand even when you’re working at an awkward angle under a hillside. Rails of Sheffield had it at £57.95 when I checked, and it floats around that mark on Amazon too.
The cheap generic units, and eBay is full of them (current listings here), are the same idea built lighter. Weaker charge, flimsier sieve, and the earth lead connections can be fragile. They work. The fibres stand a little less crisply and you’ll work in smaller patches, and for a first layout or a test plank that’s a perfectly sensible way in. If the technique grabs you, the WWS ends up on your bench eventually anyway.
The Peco PSG-1 is WWS’s bigger machine wearing Peco’s badge. More powerful, bigger hopper, covers field-sized areas faster. Lovely tool, and more than a 6ft by 4ft layout needs.
One thing not to do: the DIY electric fly-swatter conversion that circulates in forum threads. It works, people have built good ones, and I’m the sort of person who’d normally be first in line. But you’re handling an exposed high-voltage mesh with wet PVA nearby, and the £30 eBay unit has removed the reason to bother.
Fibres: three bags gets you started
Fibre comes in lengths from 1mm to 12mm. For OO gauge, 2mm reads as mown or grazed grass, 4mm as ordinary rough grass, and 6mm as the untended stuff along fences and embankments. A 4mm fibre in OO scales out around a foot tall, which is longer than a lawn and about right for lineside.
Colour matters more than length. Real grass is never one green, and the single most common beginner result, a uniform bright green pelt, comes from using one bag of one colour. Start with three: a 2mm in a dull spring or meadow green, a 4mm in a mid summer green, and a 4mm or 6mm in a dead or autumn beige. Mix greens with a pinch of beige before they go in the hopper. My cousin’s rule is that the mix should look slightly wrong in the pot, a bit too brown, because pure green in the pot turns into carpet on the board.
WWS and Peco fibre is consistent and cheap enough, at £4 to £7 a bag depending on size, that there’s no reason to economise here. WWS static grass on eBay covers the range if your local shop doesn’t.
Laying your first field
The glue is nothing exotic. Neat PVA thinned about 10 per cent, or a 50/50 PVA and water mix with a drop of washing-up liquid if you want it to spread further, or a proper basing glue like WWS’s, which stays workable a little longer. Brush it on in an even coat, not a flood, over an area no bigger than a postcard for your first attempts. Small areas stay wet; big areas skin over before you reach them.
Then, in order: earth pin into the glue at the edge of the patch. Fibre into the hopper, half full, lid on. Switch on, hold the sieve 5 to 10cm above the glue, and shake it gently side to side while the fibres rain down. You’ll see them stand as they land, which is oddly satisfying the first time. Keep the sieve moving. Hovering over one spot buries it.
Coverage looks thin before the glue dries. Resist the urge to keep loading fibre on, because fibre landing on fibre doesn’t reach the glue and just sits there as loose fluff. Let the patch dry for a few hours, then hoover the loose fibre off. A pair of old tights over the hoover nozzle catches the excess for reuse, which matters once you notice how fast a 30g bag goes.
Layering is what makes it look like a field
One pass of one length is a lawn. Fields are built in layers, and this is where the technique stops being application and starts being modelling.
The sequence my cousin uses, which matches what WWS themselves teach: 2mm mix across the whole area as the base coat. Once dry and hoovered, a mist of layering spray, which is a tacky adhesive that grips fibre without soaking the base layer flat, over the parts that want longer growth. Then 4mm into the sprayed areas, patchy and uneven on purpose. Then, sparingly, 6mm along fence lines, around bushes, against buildings, anywhere a mower or a sheep can’t reach. Real grass is short where things move and long where they don’t, and copying that one observation does more for realism than any product you can buy.
Patches of bare earth help too. Scrape a little glue-and-fibre away before it dries near gates and paths, dust the gap with brown scatter, and the field reads as used rather than laid.
The mistakes that flatten the effect
Forgetting the earth pin. Covered above, and it’s still the big one.
Working too far from the surface. Above 10cm the field weakens, the fibres lose their alignment, and they land leaning. If your grass looks combed sideways, you were too high or too slow to move the pin.
One length, one colour. Bowling green. Always the mix.
Hoovering too early. The fibre tips look dry hours before the glue underneath has set, and an impatient pass with the nozzle pulls whole patches out. Overnight is safe.
And damp. Static and moisture don’t get on, so a cold garage in a wet week produces limp results from the same machine and fibre that worked in the spare room. If the grass won’t stand and the pin’s in place, check the humidity before blaming the applicator.
Start with a test board. A scrap of ply, a postcard of glue, one mixed pot of fibre, and twenty minutes gets you past every mistake above before any of them can happen where it matters.
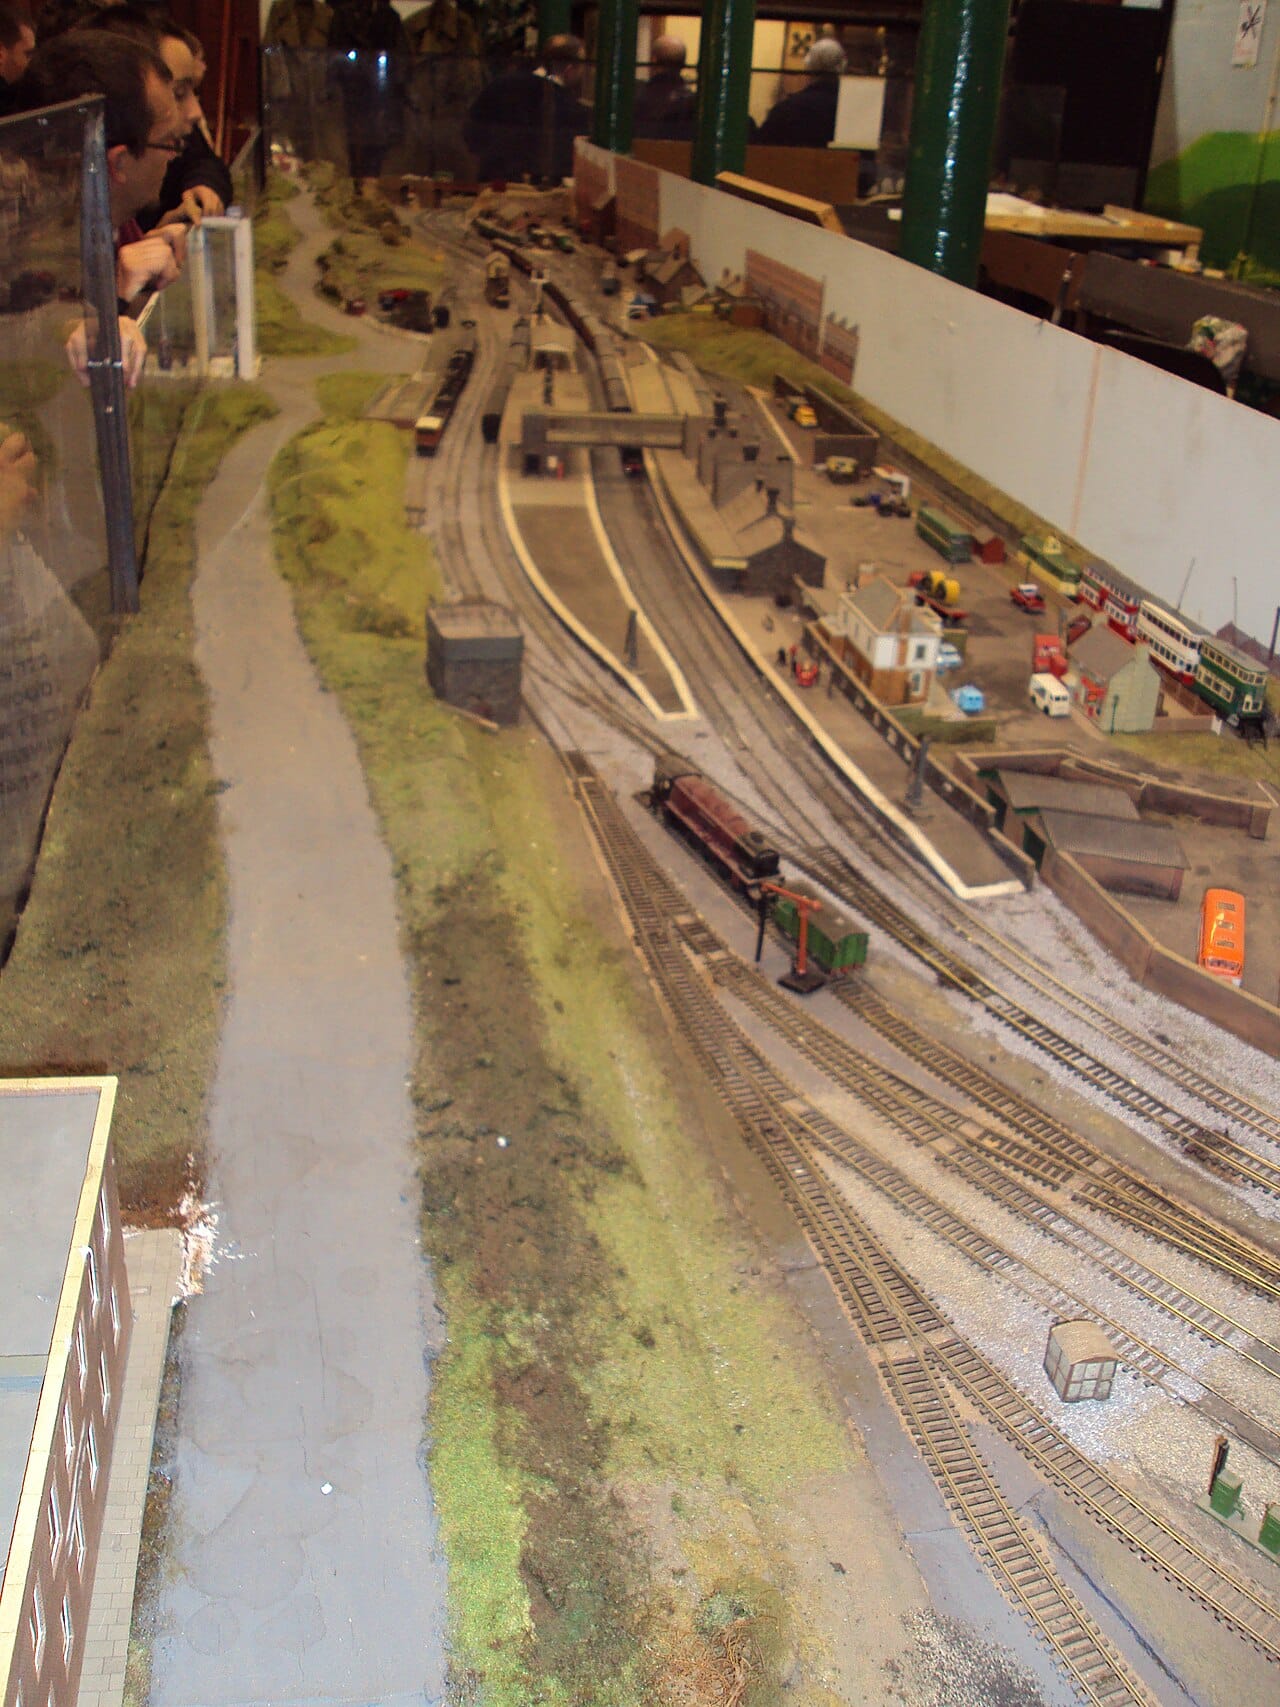
The grass here works because it varies. Nothing on a real lineside is one colour or one height, and the scatter-mat look disappears the moment you mix lengths.