How to Weather a Locomotive: A Gentle First Approach
A factory-fresh loco is the thing that gives a good layout away. A gentle, reversible order of operations for weathering a locomotive for the first time, and the mistake that ruins most first attempts.
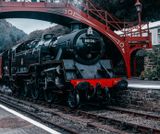
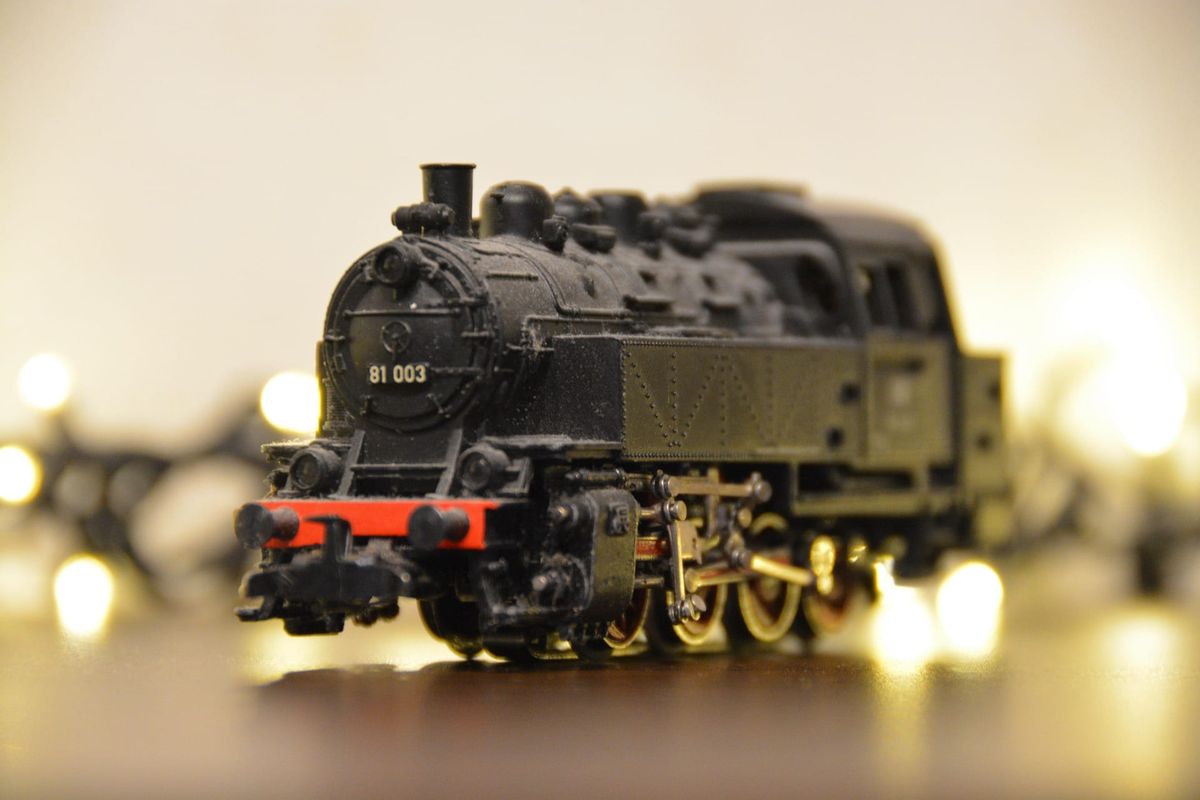
A brand new OO gauge locomotive comes out of the box looking like it rolled off the production line an hour ago, because it did. Every real locomotive that’s done a day’s work carries evidence of it, soot on the smokebox, rust weeping from a filler cap, grime worked into the recesses around the frames. Weathering is the job that closes that gap, and it’s far more forgiving than most beginners expect.
I say that as someone whose first attempt looked like I’d dipped the loco in a puddle. The fix wasn’t more skill. It was doing the stages in the right order, and stopping sooner than felt natural.
A factory-fresh loco is the thing that gives a layout away
Put a mint-condition Hornby Stanier 8F next to a weathered wagon and the eye goes straight to the loco, for the wrong reason. It looks like a toy sitting on a model of a real place. Everything else on a decent layout, the ballast, the buildings, the backscene, is doing work to look worn and used. A gleaming locomotive undoes a lot of that work in one glance.
My uncle’s spent decades looking at LMS-era traffic photos, and the thing he keeps pointing out is that even locomotives kept in good order by their home shed still carried grime within days of a wash-down. Clean paintwork on a working steam locomotive was a photograph opportunity, not a normal Tuesday. That’s the target: not filthy, just used.
The good news is that weathering a locomotive doesn’t touch the mechanism. It’s paint and pigment on the outside of a model that already runs. If it goes wrong, most of it comes off again with enamel thinners and a cotton bud, which is exactly why it’s a better place to start than people assume.
Start with a wash, not a full respray
The order matters more than any individual technique, and the order is: wash first, pencil second, powder last. Each stage is more concentrated and less reversible than the one before it, so starting with the gentlest, most forgiving stage means an over-eager first go doesn’t ruin the model.
An enamel wash is thinned paint that flows into recessed detail and pools in the gaps a brush can’t reach cleanly, then dries as a soft grey-brown shadow in every rivet line, panel gap, and vent. Humbrol’s Enamel Wash in black comes ready-mixed in a 28ml bottle for around £7, and it’s thin enough out of the bottle that most beginners don’t need to dilute it further for a first attempt.
Apply it with an ordinary brush over the whole body, don’t worry about neatness, then leave it for two or three minutes before wiping the flat surfaces back with a cotton bud dampened in white spirit or enamel thinners. The wash stays trapped in the recesses and lifts off the flat paintwork. That contrast, dark in the detail, clean-ish on the flat, is most of what reads as “weathered” to someone glancing at a layout from three feet away.
Matt varnish underneath helps the wash key properly and stops it beading on a glossy factory finish. If your loco still has its box-fresh gloss or satin finish, a light coat of matt varnish before the wash saves a lot of frustration. Do this stage somewhere ventilated. Enamel thinners are solvent-based, and the spare room with the window shut on a winter evening is not the place for a first attempt.
Streaking down from vents and filler caps
Once the wash has dried, the next stage is directional streaking, and this is where a weathering pencil earns its place. AK Interactive’s Weathering Pencils Set works like a soft coloured pencil that deposits semi-greasy pigment rather than solid colour, so a light touch builds gradually instead of committing you to a mark straight away.
Rust and grime don’t sit still on a real locomotive. Water runs down from a leaking filler cap, weather-staining runs down from a roof vent, and both leave a streak that points in one direction, down, with gravity, never sideways or upward. That single detail, getting the direction right, does more for realism than the colour choice.
My cousin’s the one with the eye for this side of it, and the thing he drilled into me is that every streak should be thinner than feels right at the time. Drag the pencil down from the source in one light pass, then a second pass only over the top third of the first, so the mark fades rather than stopping abruptly. A hard, dead-straight line the same width top to bottom reads as a painted stripe, not as dirt.
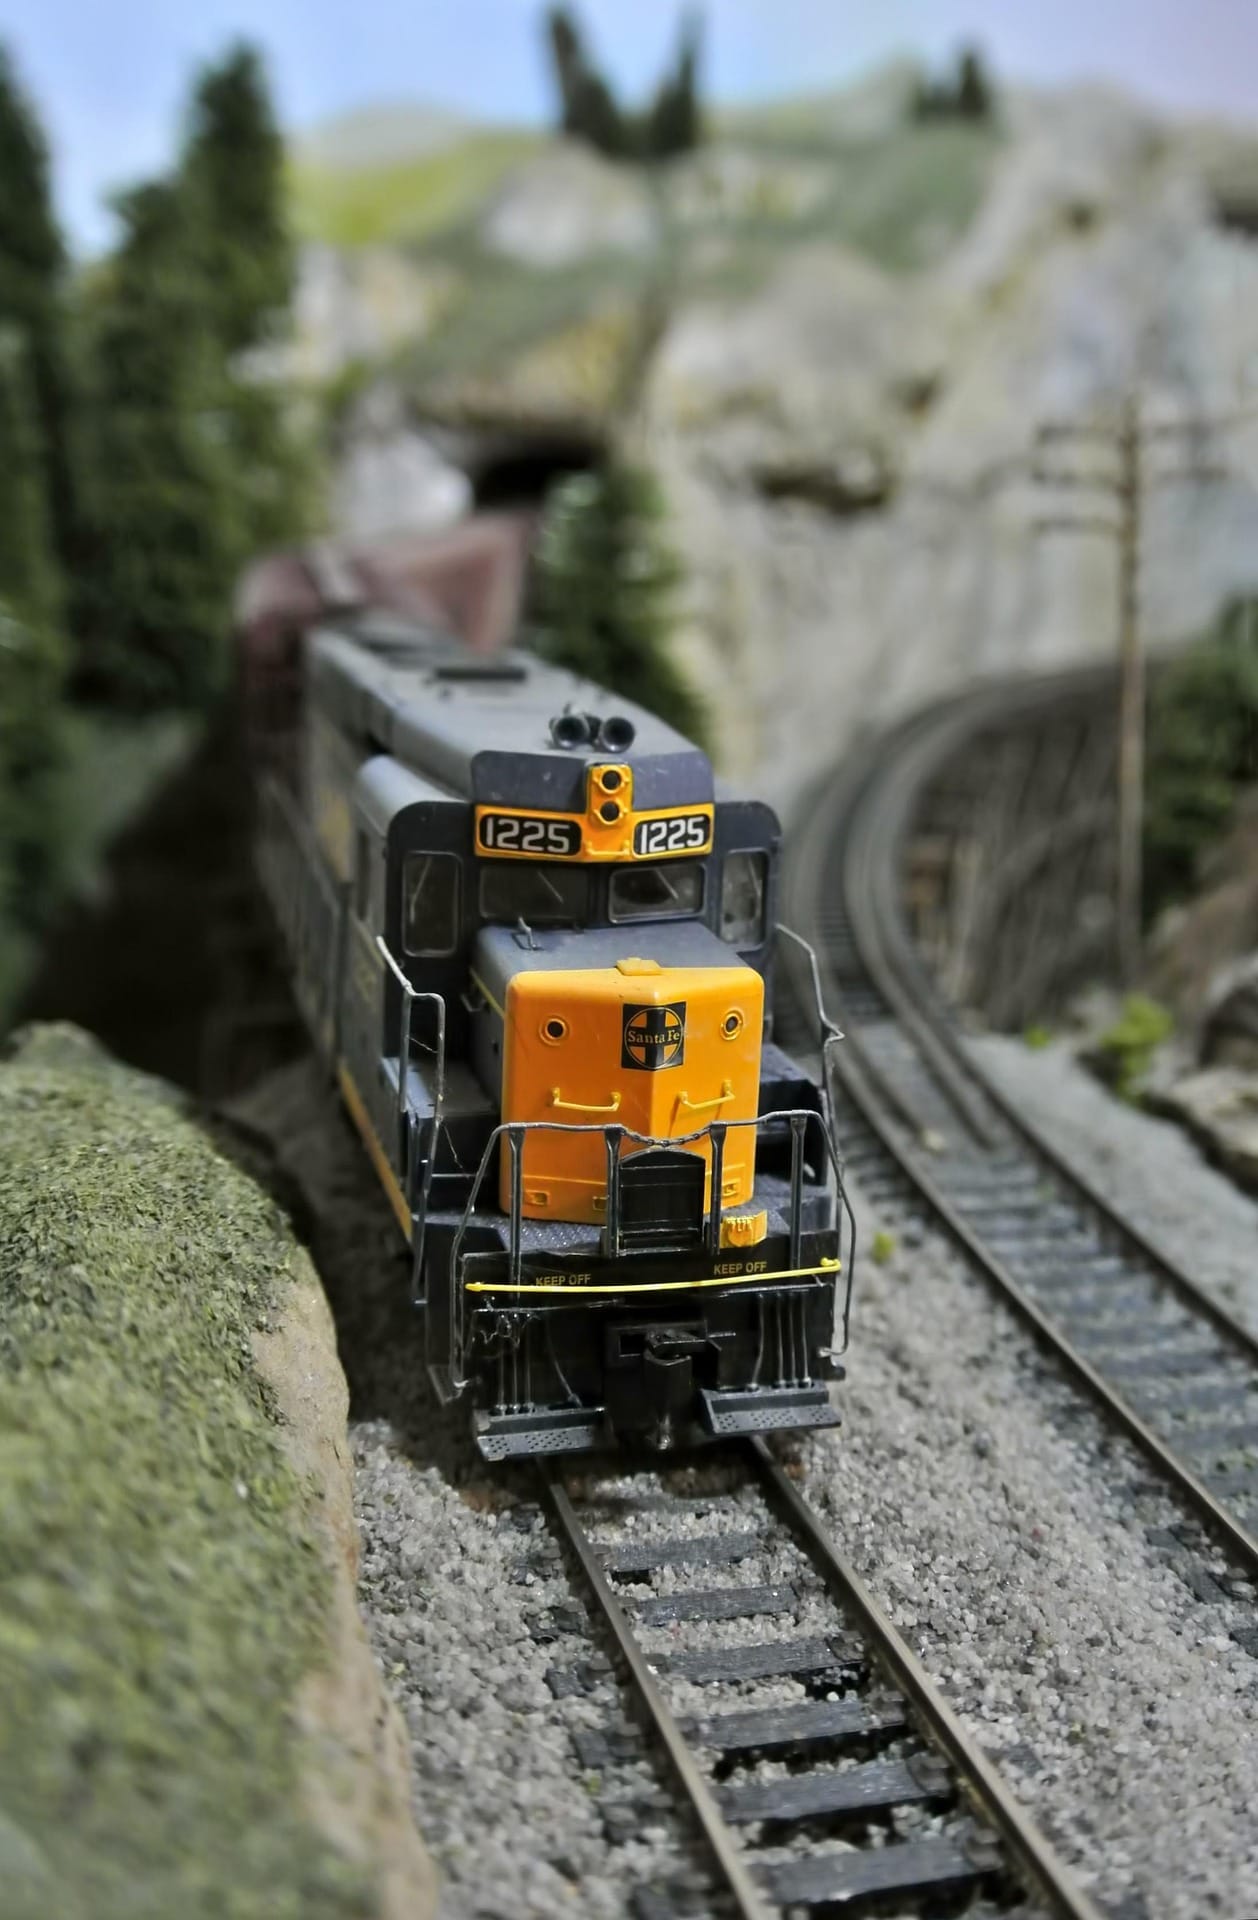
Rust and grime streaking downward from a filler cap on a weathered model. The direction matters more than the colour. It should always read as gravity pulling dirt down, never sideways.
The roof and smokebox carry the most grime
Steam locomotives blacken from the top down and from the front back, because that’s where the smoke and exhaust actually go. On a diesel or electric loco the equivalent is exhaust staining around the roof grilles and general dust settling on upward-facing surfaces. Either way, the roof and smokebox take more weathering than anywhere else on the model, and it’s the stage most beginners under-do.
Tamiya’s Weathering Master sets are compressed weathering powder in a small case with its own sponge-tip applicators, so there’s no separate brush to buy for this stage. Load a small amount onto the sponge, tap off the excess on a tissue until almost nothing transfers, then work it onto the model in a patting motion rather than a stroke. Build it up in thin layers. Powder that goes on too thick just looks like the model has been dropped in flour.
Vallejo’s Pigment FX range in the dust and dirt shades does a similar job if you’d rather work with loose pigment and your own brush, and it’s worth having in the toolbox once you’re doing more than one or two locos a year, but the Tamiya set is the better first purchase because the applicators are included and matched to the pigment.
Powder stays loose until it’s fixed. A very light mist of matt varnish, held well back from the model, locks it in place without washing it away. Get too close or too heavy-handed with the varnish and the powder streaks in the wrong direction, undoing the careful work from the pencil stage.
| Product type | What it does | Best for | Time to apply |
|---|---|---|---|
| Enamel wash | Sinks into recessed detail, darkens the whole model | Panel lines, rivets, grime in gaps | 10–15 minutes |
| Weathering pencil | Dry pigment streak, builds gradually | Rust under filler caps, vent staining | A few minutes per streak |
| Weathering powder | Loose pigment, soft graduated buildup | Roof soot, smokebox, general dust | 15–20 minutes including fixing |
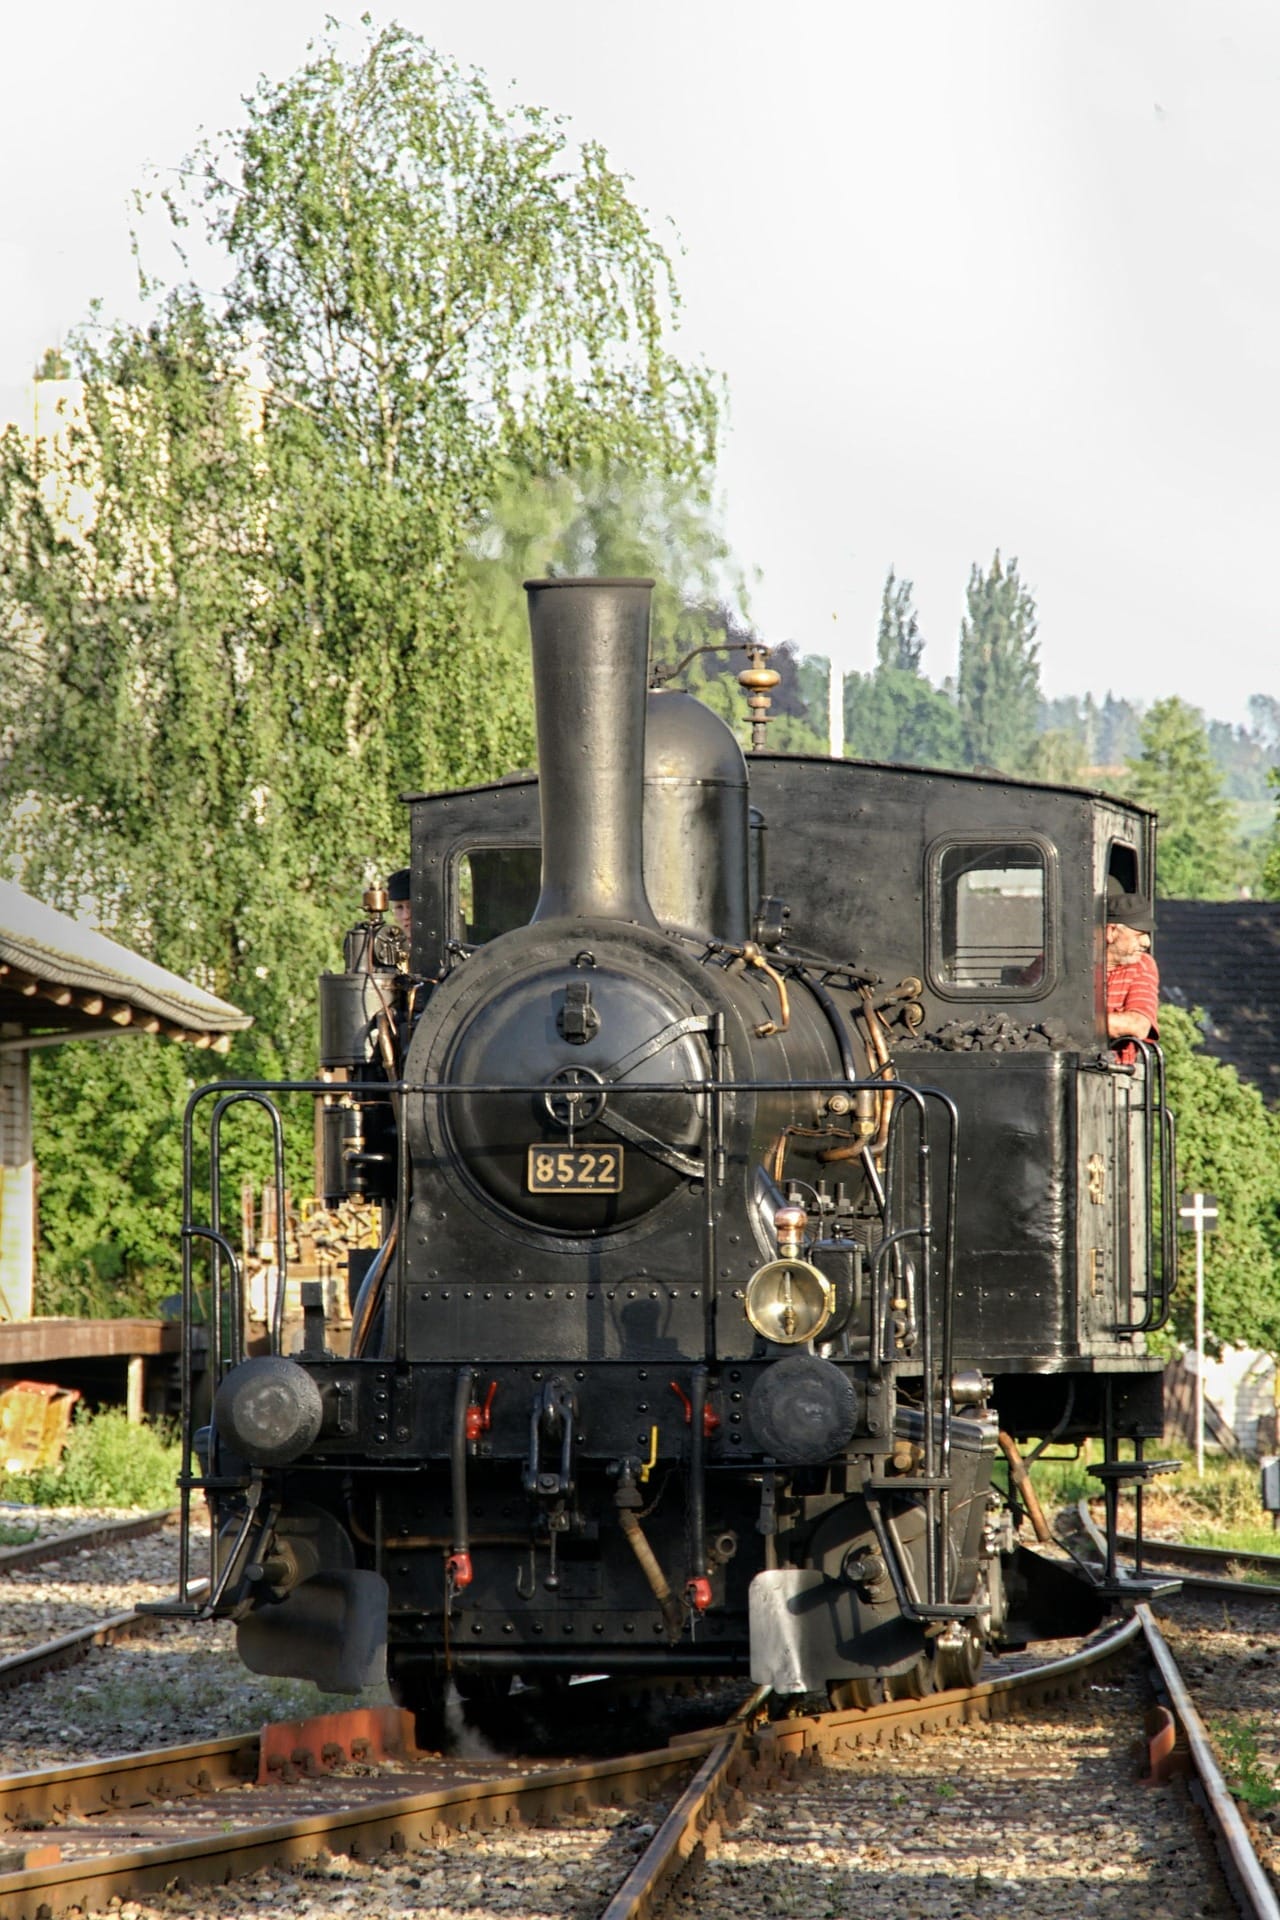
A real locomotive in traffic, for reference. The smokebox has gone matte grey-black, the boiler top has a soft bloom of soot, and none of it is uniform. This is what the powder stage is trying to reproduce.
Diesels and multiple units want a lighter touch
Everything above reads more heavily on a steam locomotive, because steam engines genuinely got filthier faster. A diesel shunter or a modern multiple unit in a clean corporate livery, a Hornby Class 66 or a Bachmann Class 158 for instance, wants the same three stages but at a fraction of the intensity.
Skip the smokebox-style powder buildup entirely, since there’s no smokebox, and concentrate the wash on the bogies, roof grilles, and the grime line that collects just above the solebar where road spray and brake dust gather. A diesel that’s had six months in traffic looks tired around the wheels and roof vents but keeps most of its bodywork colour. Go too heavy here and it starts to look like the wrong prototype entirely, an unmaintained wreck rather than a working machine on a normal duty roster.
The same wash-pencil-powder order still applies. It’s the proportion between the stages that changes, with far more weight on the wash and pencil and much less on the powder.
Wheels and underframe are where beginners stop too soon
This is the mistake I see most often, on my own early attempts and on other people’s. The bodywork gets a wash, a bit of streaking, maybe some roof grime, and then the job stops there because the model looks finished from a normal viewing angle. Meanwhile the wheels, valve gear, and underframe are still the same clean grey plastic they came in.
Real locomotives are at their filthiest low down. Track dirt, oil, brake dust, and general road grime collect on the wheels and underframe constantly, far more than on the roof. A model with a weathered body sitting on pristine wheels looks wrong the moment anyone crouches down to track height, which on a layout is most of the time a viewer actually looks at a train.
Treat the underframe with the same wash-then-powder approach, just heavier. A dark wash worked well into the wheel spokes and coupling rods, followed by a rust-brown powder dabbed into the brake gear and axleboxes, takes ten minutes and changes how the whole model reads far more than another hour spent refining the roof. Keep the wash and powder off the wheel treads and pickups themselves, or you’ll be cleaning the rail contacts before the loco runs properly again.
How far is too far
Test the sequence on something you don’t mind getting wrong first. A spare wagon, an old kit-built van, anything that isn’t the locomotive you actually care about. Weathering pigments and enamel washes behave differently on every surface, satin plastic, gloss brass, matt-varnished resin, and the only way to know how a specific model will take a wash is to try it on something expendable.
Stop earlier than feels natural. The instinct on a first attempt is to keep going until the effect looks obviously deliberate, and that’s usually one stage too far. A locomotive that’s done six months of light branch line work doesn’t look like it’s been dragged through a coal yard. Put the model down, walk away for ten minutes, and come back to it before deciding whether it needs another pass.