Making Realistic Model Trees on a Budget
Realistic trees come down to restraint more than skill: varying colour and shape, getting the foliage scale right for 4mm, and knowing which technique is worth the time versus the money.

Trees are the fastest way to spot a beginner’s layout from across a room. Not because they’re missing, but because they’re all the same height, the same green, and shaped like lollipops on sticks. Real trees vary hugely within a few metres of each other, in colour, shape and how open or dense the canopy is, and getting model trees to do the same is mostly a question of restraint rather than skill.
Why bought trees often look wrong on a layout
Most off-the-shelf trees fail on three counts at once. The colour is one flat green straight through the canopy. The shape is close to a sphere or a cone, because that’s cheap to mould. And the trunk is either a matchstick holding up an implausible mass of foliage, or a fat dowel that reads as a lamp post with leaves stuck on.
Scale is the part beginners skip past. OO gauge is 1:76. A mature oak trunk at chest height might be 900mm to 1,200mm across in real life, which comes out at roughly 12 to 16mm on the model. A birch or field maple, common lineside trees on an LMS-era layout, might be half that. Foliage clumps have a scale too: a Woodland Scenics clump straight out of the bag is often too large and too uniform to use whole. Break it apart into pieces no bigger than a fingernail before it goes anywhere near a tree, and the difference is immediate.
My cousin does most of the scenic work on our spare room layout, and his rule for trees is that no two on the same scene should be built from the same colour mix. Buy three shades of foliage, not one, and blend them per tree rather than per batch.
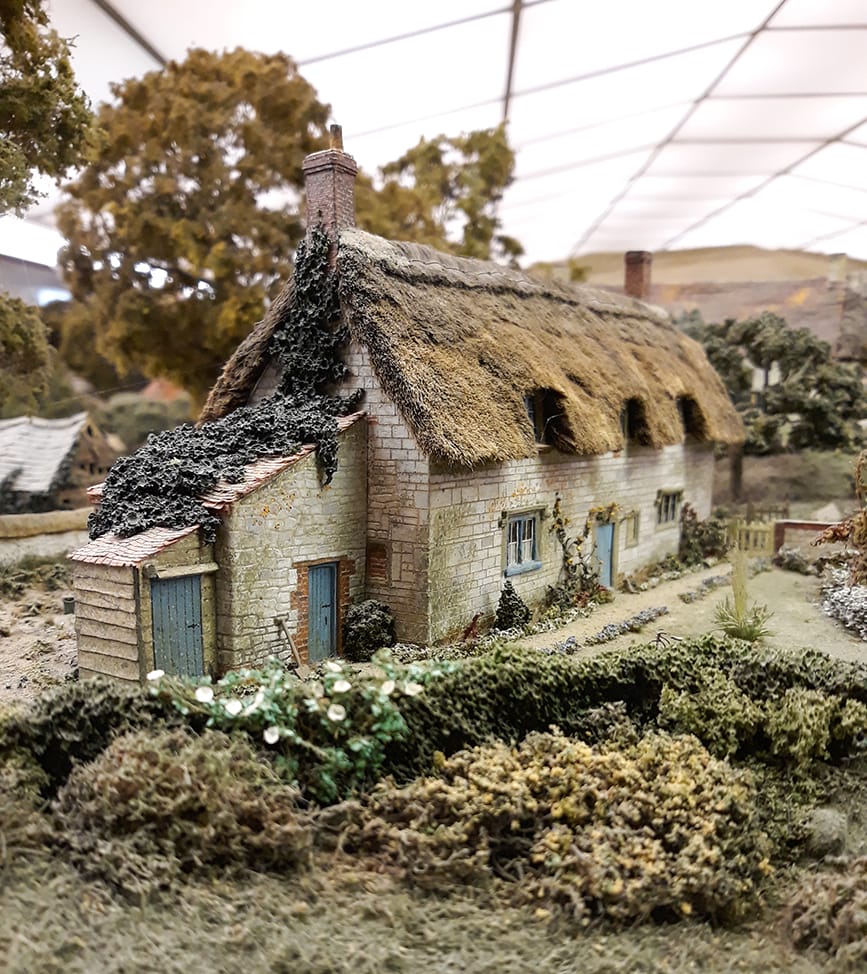
Pendon Museum’s Vale scene is the reference point most modellers reach for when talking about scenic realism, and its trees are exactly why: no two are the same shape or colour.
Wire armatures: the free option if you’ve got the patience
Twisted florist wire is the cheapest tree you’ll ever build, and it’s the one that rewards patience over spending. A reel of 28 or 30 gauge floral wire costs around £2 to £3 and makes dozens of armatures. The trick, and it took me a few attempts to get right, is building from the tips inward rather than the trunk outward. Cut lengths roughly twice the finished tree height, cross two at a right angle about half an inch from one end, and twist. Add more pairs at intervals down the trunk, twisting each new branch point into the growing bundle, until you’re left with one thick twisted trunk and a spray of thin branch tips at the top.
Coat the trunk in a plaster-and-PVA mix or a thinned filler to fake bark texture, paint it in two or three greys and browns rather than one flat colour, then dip the branch tips in tacky glue and press them into foliage. I built six of these on a wet Sunday and they took about 20 to 25 minutes each once the twisting rhythm clicked. That’s fine for the two or three specimen trees that sit at the front of a scene where every branch shows. It’s not a realistic plan for filling a whole embankment.
Sea foam and yarrow: the plant-based shortcut
Sea foam, actually the dried plant Teloxis aristata, is the material most scenic modellers reach for once they’ve built a few wire trees and decided there’s a faster way. It grows as a fine, naturally branching shrub, dries brittle, and separates into dozens of individual tree-shaped stems once you break the clumps apart.
You can buy it ready-cut. Sea foam trees on eBay run from around £15 to £25 for a box that yields 25 to 30 stems depending on size, which works out cheaper per tree than buying finished models and gives a far more irregular, natural shape than any wire armature you’ll twist by hand. Soak the dried stems for a minute or two in diluted matte medium, roughly one part PVA-based medium to seven parts water, before you touch them. Straight-dry sea foam snaps if you look at it wrong; the soak makes it flexible enough to shape and tough enough to survive gluing.
Yarrow, Achillea millefolium, works the same way and grows wild along a lot of UK verges if you know what you’re looking for, or from a £2 seed packet if you don’t. Cut and dry it in autumn, treat it the same way as sea foam, and you’ve got a free source of armatures that never quite matches shop-bought stems, which is exactly what you want on a layout where uniformity is the enemy.
For background woodland where individual tree shape barely matters, rubberised horsehair does a different job entirely. It’s sold in A4-sized sheets, around £3.75 to £5 on eBay, and you tease it apart with your fingers into open, airy clumps that read as distant tree canopy or hedgerow once foliage is applied. It’s not a tree in the way a wire or sea foam armature is a tree. It’s volume and texture, and for the middle distance that’s often all you need.
Woodland Scenics kits: where the money is actually worth spending
Buying pre-shaped armatures makes sense once you’ve built enough trees by hand to know what you’re avoiding. Woodland Scenics Realistic Tree Kits (around £16.50) come with a bundle of fine, paper-wrapped wire and a spreading base already shaped, enough to build up to 21 trees without any twisting at all. You get a consistent, believable branch structure straight out of the packet, and the time saved on a dozen trees is real.
For bigger runs, the Woodland Scenics 2-3in Deciduous Tree Armatures pack (around £26.61 for 57 armatures) works out cheaper per tree than the kit above, but the armatures arrive unpainted and bare, which means the finishing work is still on you. The taller TR1123 armatures, 5 to 7 inches and 12 to a pack for around £24.95, are the right scale for a mature tree standing near the front of a scene where the trunk will be seen close up.
I’d spend the money on kit armatures for the handful of hero trees that sit where a viewer’s eye lands first, near a platform end or a road bridge, and go back to wire or sea foam for everything behind them. Paying premium prices to fill a whole wood is money better spent on foliage instead, which is the part that actually reads from normal viewing distance.
Ready-made, fully finished trees exist too and cost roughly £2 to £3 each in a mixed value pack, more for individual specimen trees from a scenery specialist. They’re a reasonable shortcut for a first layout where you need results this weekend, but they’re the least flexible option on this list: you can’t recolour a moulded canopy the way you can rework a foliage-covered armature.
Getting the foliage scale right for OO gauge
This is where most trees, home-made or bought, either work or fall apart. Woodland Scenics Clump Foliage in light green (around £14.70 for the 57.7 cubic inch bag) is a good base, but never apply it as it comes out of the bag. Pull each clump apart into smaller pieces, roughly the size of a fingernail down to a grain of rice, and mix at least two shades before anything touches glue. One bag of one colour on every tree is the single fastest way to end up with a layout that looks like a bowling green stood on end.
Build volume before you add colour. Woodland Scenics Poly Fiber (around £5.50) is stretched and teased over the armature first, giving the canopy some internal bulk so the foliage clump has something to grip rather than sitting as a thin skin over bare wire. Without it, trees built from fine armatures often end up flat and two-dimensional from any angle other than straight on.
Glue matters more than people expect. Tacky glue or a thinned PVA dabbed onto the branch tips, then dipped into a tray of mixed foliage, gives better coverage than trying to sprinkle foliage onto wet glue from above. Work in patches rather than the whole tree at once, and leave gaps. A canopy with small holes in it looks more like a real tree seen through moving leaves than a solid green ball does.
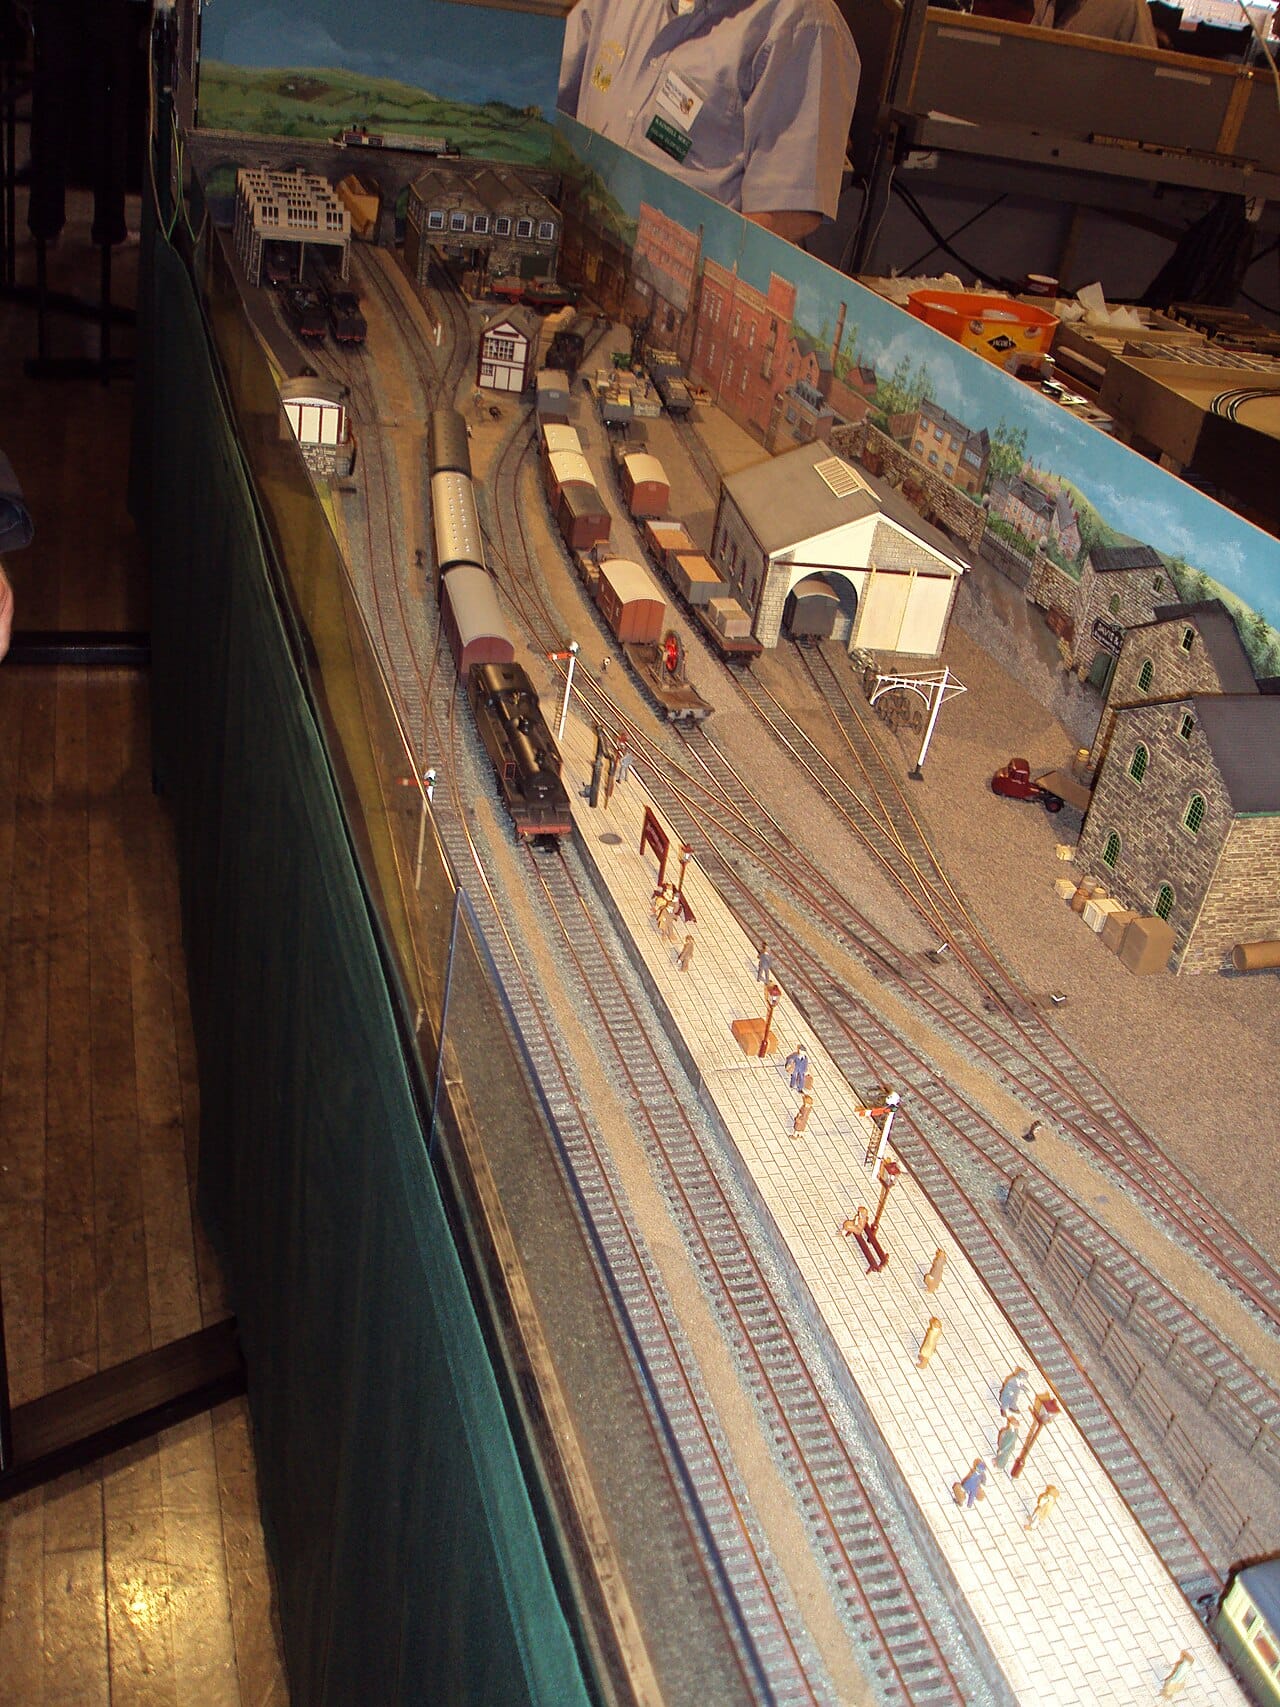
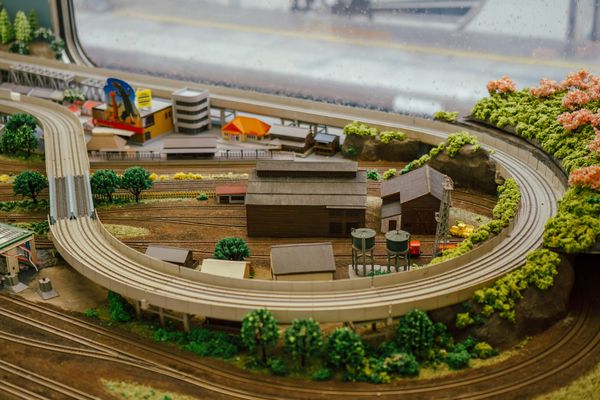
Varied canopy texture and colour on an exhibition OO layout. Nothing here is one shade of green, and none of the tree shapes repeat.
Which armature method for which job
| Method | Cost for ~20 trees | Time per tree | Best for |
|---|---|---|---|
| Twisted wire (florist wire) | £2–£3 for wire | 20–25 min | Hero trees at the front of a scene |
| Sea foam / yarrow | £15–£25 (bought), free if grown or foraged | 5–10 min once soaked | Mixed woodland, natural irregular shapes |
| Woodland Scenics Realistic Tree Kit | £16.50 for up to 21 | 10–15 min | Beginners wanting consistent shape without twisting |
| Rubberised horsehair | £3.75–£5 per sheet | Minutes, by the sheet | Background canopy and distant woodland texture |
| Ready-made finished trees | £2–£3 each (mixed pack) | None | First layouts needing fast results |
Mixing techniques across one scene
No layout worth looking at uses one method for every tree. The front two or three, the ones a viewer’s eye actually lands on, get the wire armature or kit treatment with mixed foliage and real time spent on shape. Everything in the middle distance can be sea foam or yarrow, built fast and left slightly irregular on purpose. Anything genuinely at the back, filling a hillside or backing a scene, is rubberised horsehair or even painted lichen under a static grass ground layer, because at that distance colour variation and rough silhouette do more work than individually shaped branches ever will.
Spend your budget on foliage before you spend it on trunks. A cheap wire armature covered in three well-mixed shades of properly broken-down clump foliage beats an expensive moulded tree covered in one flat green, every time.