How to Weather Model Buildings and Structures: A Beginner's Guide
A factory-fresh building is the thing that gives a good layout away. Here's the powder-and-pastel approach that takes the shine off a plastic kit and makes it look like it's stood in the weather for fifty years.


A brand new plastic kit has a sheen to it that nothing in the real world has. Straight from the box, a station or a row of terraced houses catches the light in a way that says “moulded” the moment you put it on the layout. Everything around it can be beautifully done, the track ballasted, the grass laid, the stock weathered, and the one shiny building will still pull your eye every time. That sheen is the tell.
Weathering fixes it, and buildings are the best place for a nervous beginner to start. A wagon that goes wrong costs you a wagon. A building that goes wrong wipes clean with a damp cloth, because most of what follows is done with chalk and powder that hasn’t been sealed yet. My cousin does all the scenic work on our layout and this is the method he taught me, which is worth saying up front, because I’m the wiring and DCC one and I came to this as a complete beginner myself.
Why a new building looks wrong
Two things give a fresh kit away. The shine, and the flatness of the colour.
Real brick isn’t one colour. It’s forty shades of the same brick, darker where rain runs, paler where the sun has bleached it, black in the sheltered corners where soot and dirt never wash off. A moulded wall is a single flat colour across the whole face. Even a well printed card kit tends to read as too even, too clean, too new.
The job of weathering a building is mostly subtraction. You’re knocking the colour back, breaking up that flat face into variation, and settling dirt into the places dirt actually goes. Do that and the shine dies with it, because powder over a surface kills the sheen as a side effect.
The kit you actually need
You can start for under a tenner. The core of it is soft artists’ pastels, the chalky kind, not oil pastels, in black, grey, a rust brown, and an earthy buff. Scrape them into a powder with a craft knife or an old file and you’ve got weathering pigment for pennies. A set of cheap soft brushes, a couple of flat ones and a fine round, does the applying.
If you’d rather buy it ready-ground, Humbrol’s weathering powders are the accessible option in the UK at around £6.49 a pot, and they come in black, rust, sand and smoke, which covers almost everything a building needs. They behave the same as ground pastel but the colour is consistent pot to pot, which matters if you’re doing a row of houses and want them to relate to each other. My cousin keeps both, the powders for speed and a box of pastels for mixing odd shades.
The only other thing worth having from the start is a matt varnish to seal the work at the end. More on that below, because when you seal matters as much as whether you do.
Start with the roof
Roofs take the most weather and show it most, so they’re the easiest place to see your technique working.
Load a flat brush with dark grey powder, tap off the excess, and drag it downward over the tiles or slates, following the direction water would run. Keep it light. You’re aiming for streaks and a general darkening toward the bottom edge where grime collects, not an even coat. Build it up in passes rather than trying to get there in one go, because the whole advantage of powder is that you can keep adding until it looks right.
A chimney is worth a moment on its own. Real chimneys are filthy at the top, black around the pot and streaking down the brickwork from the prevailing wind side. A touch of black powder around the pot and a downward drag on one face reads instantly as a working chimney rather than a moulding.

Brick and stone
Brick is where a building either comes alive or stays plastic, and it comes down to two moves.
The first is a wash to knock the whole face back and settle colour into the mortar lines. A thin dark wash, either a proprietary enamel wash or just very dilute dark acrylic, flows into the recessed mortar courses and darkens them, which makes every brick stand out as a separate brick rather than part of a flat sheet. Let it dry fully. It’ll look too dark and blotchy while it’s wet and settle back as it dries.
The second is dry brushing to bring the brick faces back up. Take a flat brush, pick up a small amount of a paler brick or buff colour, and wipe almost all of it off on a tissue until the brush looks nearly dry. Then flick it lightly across the surface so the tiny bit of paint left catches only the raised brick faces and leaves the mortar dark. That contrast, dark mortar against caught highlights, is what your eye reads as texture. My cousin’s rule is that if you think you’ve wiped off enough paint, wipe off more. Dry brushing goes wrong by having too much on the brush, never too little.
Stone is the same logic with a browner, greyer palette and a bit more black in the deep joints. For a station or a goods shed, picking out the mortar and toning the whole thing down does most of the work.
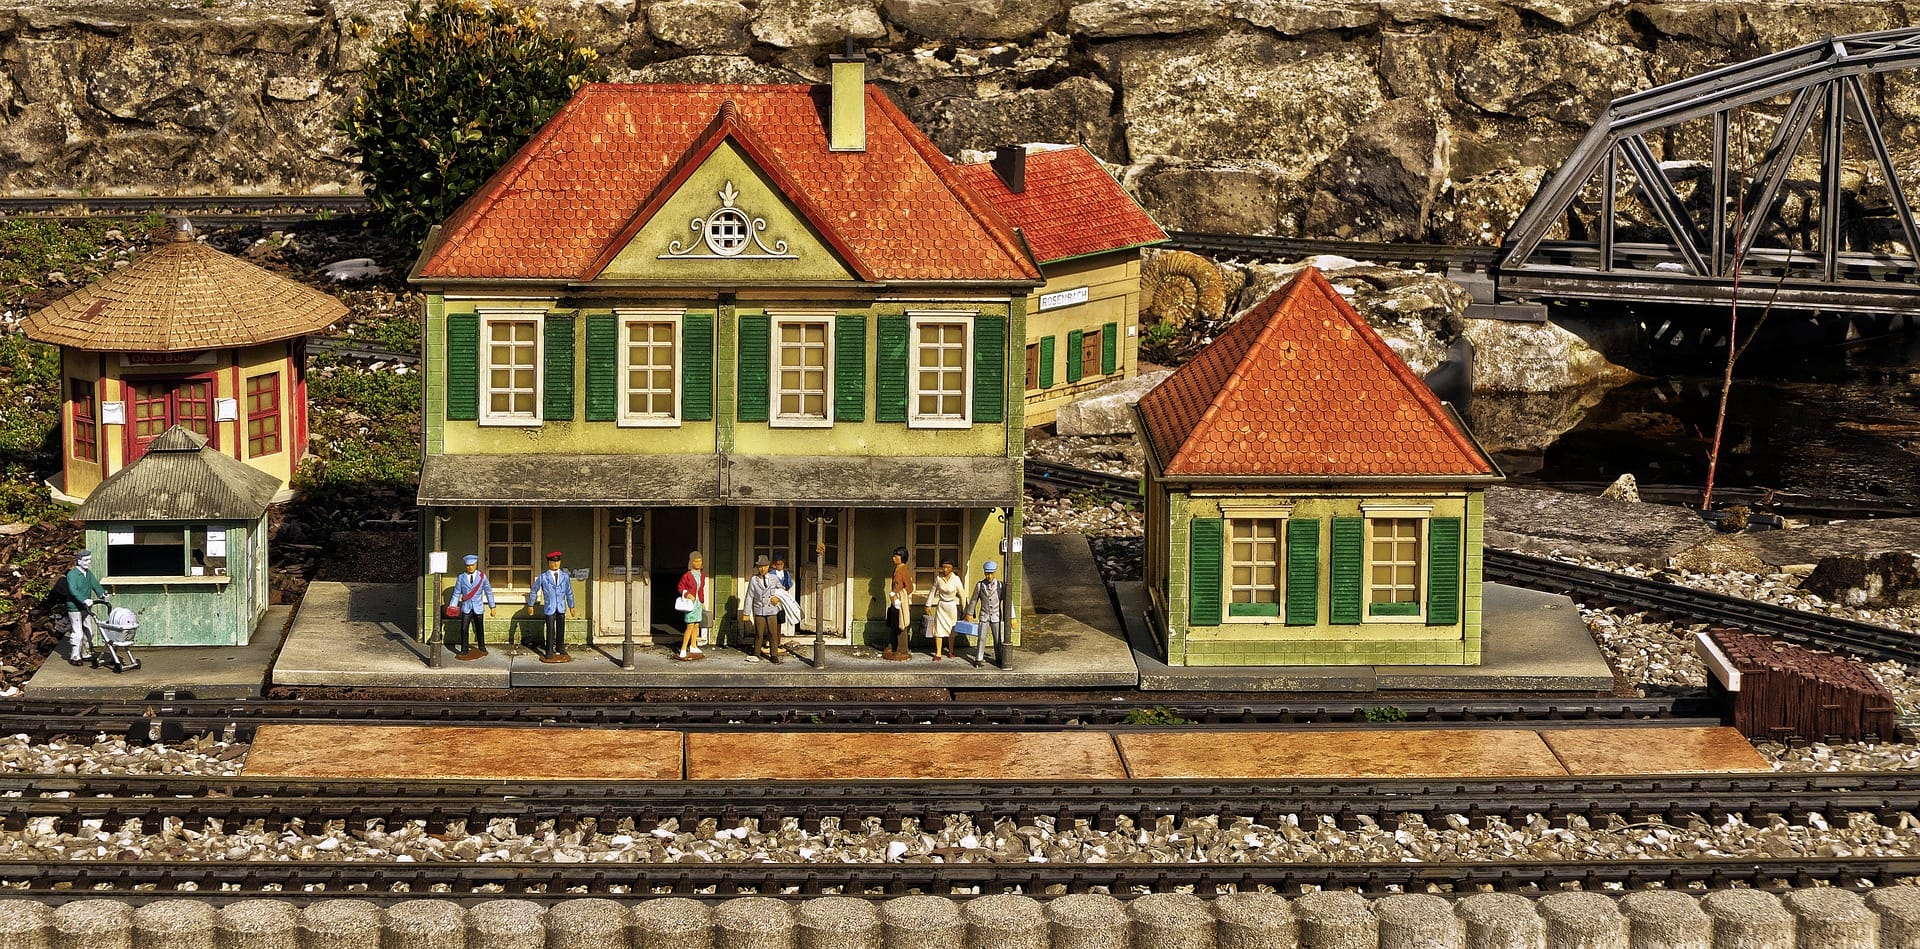
.
Where the dirt actually goes
The difference between weathering that convinces and weathering that looks like someone smeared dirt on a model is knowing where grime collects. It isn’t random.
Walls darken from the ground up, because splashback throws dirt off the pavement onto the lower courses. So the bottom foot of a building is grubbier than the top. Sheltered faces stay cleaner than the weather side. Anything under a gutter that leaks gets a green-black streak straight down. Window sills catch dust on their upper surface and stay pale underneath. Around a doorway that’s used, the wear is lighter, not darker, because hands and coats have polished the dirt away.
You don’t need to model all of that. Pick two or three of these and apply them consistently across the building and it’ll read as real. Applied in the right places, a small amount of powder does far more than a heavy hand does everywhere.
Sealing it, and why timing matters
Chalk and powder sit on the surface until you fix them. Unsealed, they’ll rub off on your fingers and shift if the building gets handled, which is the trade-off for how forgiving they are while you work.
A matt varnish or a matt fixative locks it down. The catch worth knowing before you spray is that varnish knocks powder back, sometimes by a lot. The weathering you sealed will look noticeably lighter than the weathering you sprayed, because the varnish soaks into the pigment and dulls it. So weather it slightly heavier than the finish you want, then seal, then judge. If it’s come back too light you can add another pass of powder over the sealed coat and fix it again.
Always use a matt or dead-flat varnish, never gloss or satin, because the entire point was killing the sheen and a shiny varnish undoes the lot in one pass. Test the spray on something you don’t care about first. Some varnishes go on cloudy in humid conditions, and you don’t want to find that out on a building you’ve spent an evening on.
Don’t overdo the first one
The commonest beginner mistake is going too far. A building that’s been weathered to within an inch of its life, black streaks everywhere, every brick picked out, looks as wrong as the shiny kit did, just in the other direction. Most real buildings are grubby and toned down, not derelict.
Do one building lightly. Put it on the layout next to an unweathered one and look at the two together. The weathered one will look right and the new one will suddenly look like plastic, which is the moment the technique clicks. Then do the rest of the row to match, keeping them in the same key so the street hangs together rather than looking like a set of unrelated models.
Start with a spare kit or the building you like least, so the first attempt carries no fear. The powder wipes off if you hate it, and you won’t.