Set-Track vs Flexible Track: Which Should a Beginner Use?
Set-track gets you running this afternoon. Flexible track gives you the curves that actually look right. The honest case for each, and why the real answer for most beginners is both.

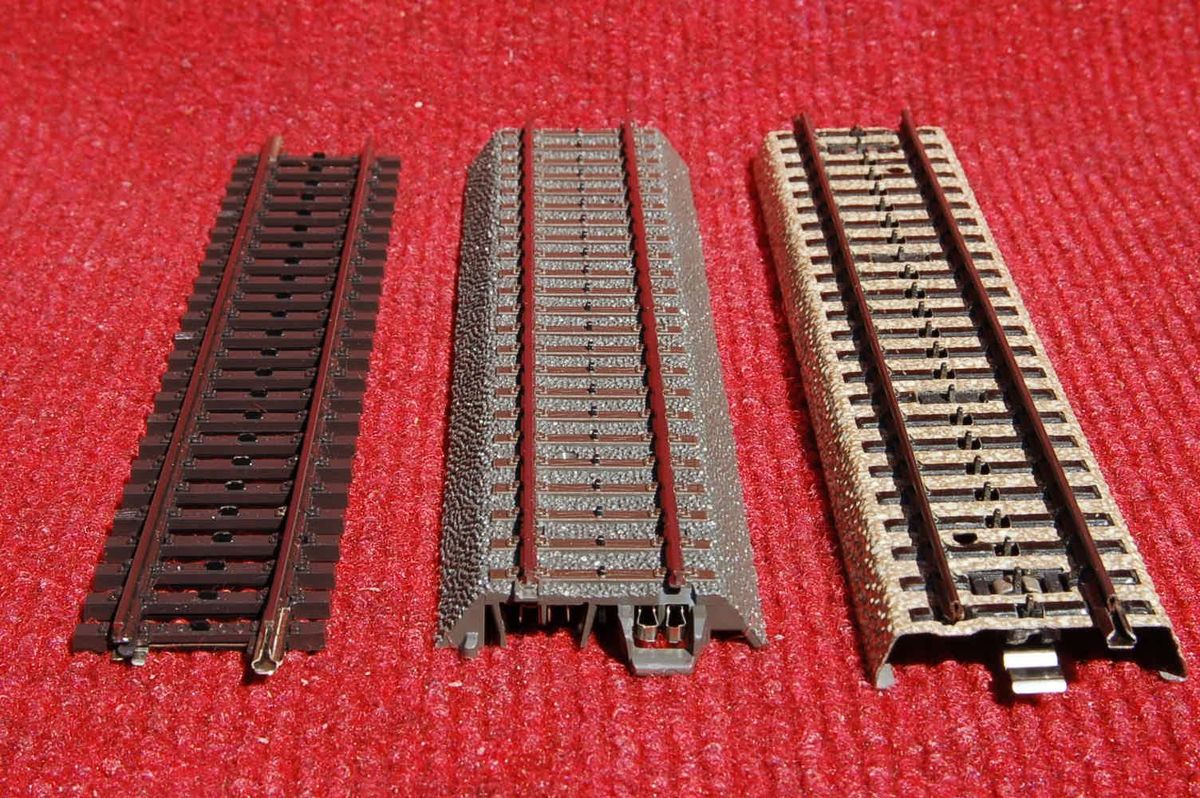
The track question trips up almost everyone in their first month, because the train set came with set-track and every nice-looking layout in the magazines is built on flexible track, and nobody quite explains the jump between the two. They’re not rival products you have to pick between for life. They’re two tools, and most layouts use both.
Here’s the difference in one line. Set-track comes in fixed, pre-shaped sections that clip together. Flexible track comes in long straight lengths that you bend to whatever curve you want and cut to length. Everything else follows from that.
Set-track: the train-set stuff, and why it’s fine
Set-track is what’s in the box of every starter set. Hornby and Peco both make it, in Code 100 nickel silver, and it’s the chunky, rigid track with sleepers moulded solidly to the rail. You get straights, curves in a few fixed radii, and points, all designed to clip together into a geometry the manufacturer has worked out for you.
For a first layout it’s genuinely the right choice, and not as a compromise. It clips together in minutes, it survives being taken up and put away, and connecting the wiring is about as easy as it gets. There’s a whole world of compatible accessories, level crossings, platforms, signals, built to the same geometry, so things fit. If your layout lives on the dining table and comes down for Sunday lunch, set-track is exactly what you want.
The limitation is the curves. Set-track curves come in fixed radii, and the common ones are tight. First radius in OO is 371mm, second is 438mm, and on curves that sharp a long coach or a modern diesel overhangs badly and can look toy-like even when it runs fine. You’re locked into the radii the maker offers, so if you want a sweeping curve that sits between two of the standard sizes, set-track simply won’t give it to you.
Flexible track: a yard at a time, any curve you like
Flexible track, Peco’s Streamline being the one most people reach for, comes in long lengths you shape yourself. A length of Peco Streamline Code 100 is 914mm, a full yard, and you bend it to whatever radius the scene wants and snip it to fit with a razor saw or rail cutters.
That freedom is the whole point. You can run a gentle, constant-radius curve far broader than any set-track piece, the kind of curve that makes a layout look like a railway rather than a train set. You can ease a curve gradually into a straight, the way real track does, instead of meeting it at an abrupt join. And you buy it by the length, so for a given amount of track it usually works out cheaper than the equivalent in pre-formed sections.
The trade is that it asks a little more of you. You have to hold or pin the curve while you fix the track down, the rails can slide in the sleeper webbing as you bend it so you trim them to length afterwards, and it’s slightly more fragile to handle before it’s pinned and ballasted. None of this is hard. It’s just a skill you pick up over an afternoon rather than something that works the instant you open the packet. My cousin, who lays all the track on our spare room layout, had clean flexi curves within his first session, and he’d never touched the stuff before.
Every join is an electrical weak point
There’s a practical reason flexible track runs better that nobody mentions to beginners, and it’s about joins.
Every place two pieces of track meet needs a rail joiner, the little metal sleeve that bridges the gap and carries the current across. Every one of those is a tiny electrical resistance and a potential future fault as it loosens or oxidises over the years. Set-track, made of short sections, gives you a join every few inches. A run built from flexible track might go a full metre between joiners.
Fewer joins means cleaner current flow and fewer dead spots to chase down later. On a small set-track oval it rarely matters. On a larger layout it’s one of the quiet reasons experienced modellers move to flexi for the plain track and add power feeds around the layout rather than trusting every joiner.
Rail joiners, the small metal sleeves that connect track sections. Set-track gives you a join every few inches. Flexible track lets you run a metre between them.
Points come separately whichever you choose
One thing that confuses people: flexible track is plain track only. There’s no such thing as a flexible point. Junctions, crossings, and sidings all come as separate pre-formed units whichever system you’re building in, either set-track points or Peco Streamline points.
So the choice isn’t really “set-track or flexi” across the whole layout. It’s “what do I use for the plain track between the junctions”, because the junctions themselves are always going to be discrete pieces you buy individually and drop in.
A point is a separate purchase whether you build in set-track or flexible track. There’s no such thing as a length of flexible track with a junction moulded in.
Mixing them is normal, and Code is the only rule
Good news that removes most of the worry: you can mix set-track and flexible track freely, and you can mix Hornby and Peco, as long as the rail Code matches. Code 100 is the standard beginner height, it’s what set-track and most starter flexi use, and Code 100 from any maker joins to Code 100 from any other. Hornby and Peco Code 100 clip together without drama.
Code is just the rail height in thousandths of an inch. Code 100 is taller and more forgiving, and it takes flange depths up to 1.6mm, which means old and new stock all run on it happily. There’s finer Code 75 track that looks more realistic, but it’s a step for later and a topic in its own right, so don’t worry about it for a first layout. Stay on Code 100 and everything fits everything.
So which should you actually buy
If you’re getting a train running this month on a layout that might not be permanent, buy set-track, or just use what came with your set. It’s the right tool for learning and for anything that has to pack away. Pair it with a set-track extension or a few flexible lengths from eBay once you know which way you’re growing.
When you commit to a permanent layout you actually want to look at, move the plain track to flexible. The smoother curves, the cleaner running, and the freedom to draw the railway you want rather than the one the geometry allows are worth the modest extra effort. Keep set-track points if you’ve already got them, lay flexi between them, and you’ve got the setup most British layouts quietly run on.
Sources: Key Model World: sectional track guide, Scale Model Scenery: is all OO track compatible, Railwayscenics: track comparison, Peco SL-100 flexible track